Shopify API Integration
Shopify API Integration
1. Log into your Shopify Account and select
Settings
2. In Settings , select Apps
3. Select Develop Apps
4. Select Build apps in Dev Dashboard
5. Select Create App
Alternatively, you may need to click 'Create app' here
6. Name the app ‘manyfastscan’ and click the Create
button
7. Scroll down to the ‘Access’ Section and paste
these scopes in the input textbox
read_inventory,read_locations,read_metaobjects,read_orders,read_products,write_inventory,write_metaobjects,write_products
Once the access scope is entered, click the
‘Release’ Button in the top right corner
8. This pop up will appear, simply click ‘Release’
9. On the left side menu, click the name of your app (manyfastscan)
10. Select 'Install app'
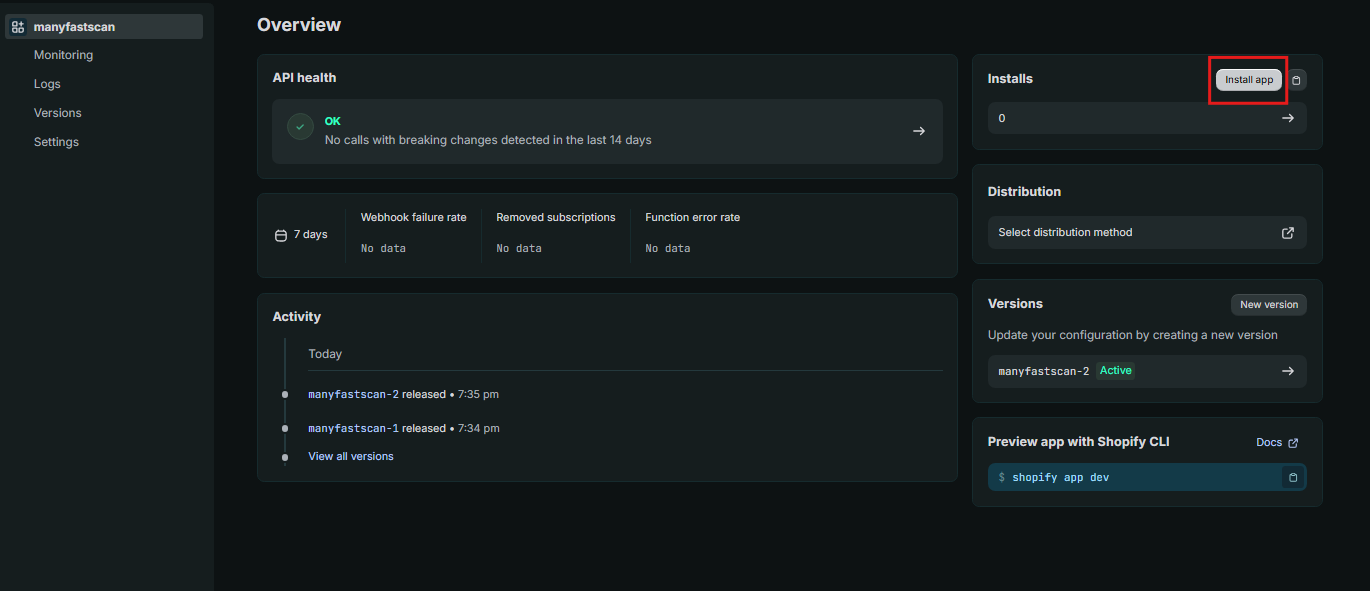
11. Select the Store which you want to connect manyfastscan to
12. You will be redirected to your Shopify site. Click 'Install'
Once you are connected, you will see a screen that looks like this
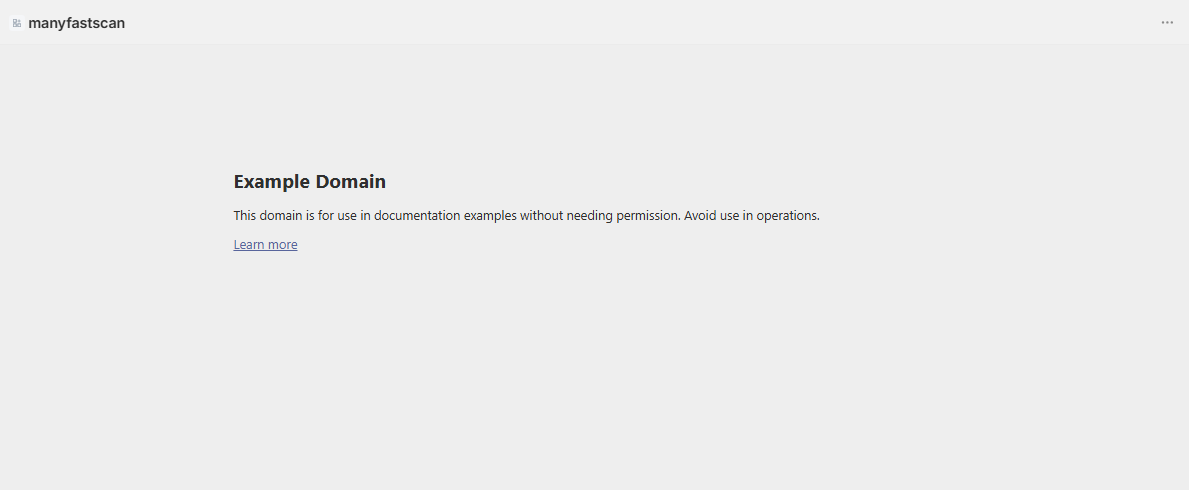
13. Return to the Shopify Dev Dashboard (Steps 1-4 included below)
1. On your Shopify Account, select Settings
2. In Settings , select Apps
3. Select Develop Apps
4. Select Build apps in Dev Dashboard
Select manyfastscan
On the left hand side menu, select Settings
14. This is where you can copy your Client ID and
Secret to manyfastscan.
15. In manyfastscan, go to General Settings >
eCommerce Settings and make sure you select the ‘Shopify’ tab. Click the
‘Connect Using Client ID and Secret Button
16. See steps below to find your proper myshopify
domain. Add your Client ID and Secret from Step 10
To find your Shopify URL, go to Settings in Shopify and
select Domains
This is your myshopify domain, please add this domain to
manyfastscan
17. Click Generate Access Token. You are now connected to Shopify!
Related Articles
Square API Integration
Square API Integration Step 1. Go to https://developer.squareup.com/ and login. Select Applications and click the ‘+’ box in the center of the screen. Step 2. Name the application and agree to terms. Step 3. Skip the next survey questions. Step 4. ...eBay Integration
Setup 1. Navigate to General Settings > eCommerce settings and make sure Live Mode is on – eBay does not offer a Sandbox environment 2. Multiple eBay accounts can be activated for a manyfastscan Account. Click here to connect your eBay account to ...