Manifest Groups
Manifest Groups are useful for grouping data
- Manifest Groups will ensure that no Lot# is duplicated between Manifests in the same Manifest Group
- When you Download a Manifest Group, the download process will combine all Manifests into one file
Mobile
Web
Mobile
- Configure View Settings for Manifest Group
- Configure User Assignments for Manifest Group
- Configure Enabled Sort Buckets to Manifest Group
- Hide Manifest Group
- Delete Manifest Group
Navigate to Manifest Groups
Step 1. Select the Manifest Generator
Step 2. Click on Manifest Group
This is your Manifest Generator Menu. Click on "Manifest Group"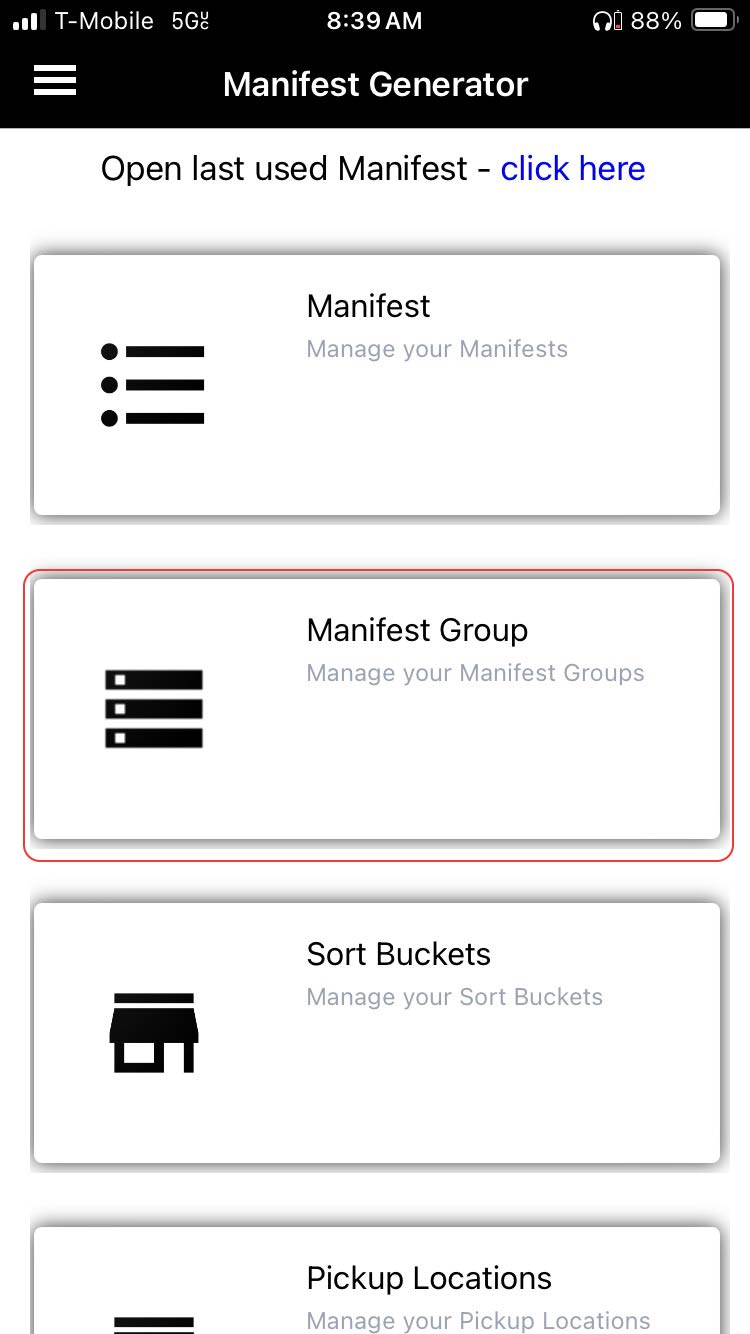
Create a Manifest Group
Special Note:
Before adding Manifests, you need to create a Manifest Group to which you'll assign specific Manifests to.
Step 1. Click on the "+"(Plus Sign)
Click on the "+" (Plus Sign) in the upper right hand corner to Create a Manifest.
Step 2. Add the details requested in the form
Special Note:
In this same screen you will need to select a ZPL Template (For auctions select "Template for Manifest")
|
Manifest Group Name
|
Name of the Sale or Auction. Consider this the Top level of your data hierarchy. Manifests which are "grouped together" can be exported using a Manifest Group |
|
View Settings
|
This is where you select your View Settings. For the majority of users, Account Settings will be sufficient. If you have a special use case, such as posting to WhatNot, you can set up your WhatNot fields in a designated view and assign that view to this Manifest Group
|
|
Description
|
Optional - Informational Only |
|
Start Date
|
Optional - Informational Only
|
|
End Date
|
Optional - Informational Only
|
|
ZPL Template
|
This is your Label Printer Template. You can create Auction, Retail, Inventory labels etc. Depending on the purpose of the Manifest Group, you can select how you want labels to look when printed
|
|
Event ID
|
Required for Auction Platforms which need an ID to indicate where the data should be uploaded. This is also used in the manyfastscan Webhook.
|
|
HiBid Link
|
Optional - Informational Only
|
|
Reporting Exclude
|
When enabled, the data created in the Manifest Group will not display on the Dashboard
|
|
Create Manifest(s) for all Users?
|
Automatically creates a Manifest for each user on the account with the naming convention [Manifest Group Name]_[Employee Initials] |
Step 5. Click Save
Step 6. Manifest Group Created
Edit Manifest Group
Step 1. Choose the Manifest Group to Edit
Click on the "3 Dots" in the upper right hand corner of the selected Manifest Group.
Step 2. Click on Edit Manifest Group.
Step 3. You are now in the "Edit Manifest Group" Page. Select the attributes to change.
Step 4. Save
Configure View Settings for Manifest Group
Step 1. Choose the Manifest Group to Change the View Settings.
Click on the "3 Dots" in the upper right hand corner of the selected Manifest Group.
Step 2. Click on "Configure View Settings for Manifest Group"
Step 3. To select/change the View Settings applied to a Manifest Group, tap on the 'View Settings Preset Template' dropdown. You will be able to select an existing View Setting. If you want to create a View Setting or Modify Existing View Settings, see the next Step.
Step 4. Go To View Settings (Read Paragraphs First)
Step 5. Choose Screen Selection, Add Preset, Edit Preset.
Step 6. Choose Which Attributes to Change.
Step 7. Save changes
Configure User Assignments for Manifest Group
ASK EVAN ^^
Configure Enabled Sort Buckets to Manifest Group
Step 1. Choose the Manifest Group To Activate Sort Buckets.
Click on the "3 Dots" in the upper right hand corner of the selected Manifest Group.
Step 2. Click on "Configure Enabled Sort Buckets"
Step 3. Check/Uncheck All, or Choose From Drop-Down Menu
Step 4. Save Enabled Sort Buckets.
Hide Manifest Group
Step 1. Choose the Manifest Group To Hide.
Click on the "3 Dots" in the upper right hand corner of the selected Manifest Group.
Step 2. Click on "Hide Manifest Group"
Special Note:
This Action will hide the Manifest Group immediately. You will need to choose "Show Hidden" to retrieve it.
Delete Manifest Group
Step 1. Choose the Manifest Group To Delete.
Click on the "3 Dots" in the upper right hand corner of the selected Manifest Group.
Step 2. Click on "Delete Manifest Group"
Step 3. Click on "Delete"
Special Note:
A warning will appear stating this action cannot be undone.
Filtering Manifest Groups
Purpose:
Quickly locate a specific manifest group using keyword filters and toggle visibility for archived or hidden groups.
Tap the "Filter" field at the top of the screen.
Special Note:
If you do not see the Manifest Group you are looking for, make sure the blue checkmark is selected for "Hidden Manifests."
Related Links:
- Sort Buckets
- Sort Buckets - How to (App)
- Sort Buckets - How to (Web)
Web
Manifest Groups
- Configure View Settings to Manifest Group
- Configure User Assignments for Manifest Group
- Configure Enabled Sort Buckets to Manifest Group
- Hide Manifest Group
- Delete Manifest Group
Manifest Group Main Menu Screen: Becoming Familiar
manyfastscan.com > Menu > Manifest Generator > Manifest Group
From this screen you can:
- Actions: Download, Edit, Delete, Configure, and Filter Manifest Groups.
Create a Manifest Group
Step 1. Click on "Add Manifest Group" in the upper right corner of the screen.
This will open your Manifest Group Creation Screen.
Step 2. Fill in the Manifest Group Details
|
Manifest Group Name
|
Name of the Sale or Auction. Consider this the Top level of your data hierarchy. Manifests which are "grouped together" can be exported using a Manifest Group |
|
View Settings
|
This is where you select your View Settings. For the majority of users, Account Settings will be sufficient. If you have a special use case, such as posting to WhatNot, you can set up your WhatNot fields in a designated view and assign that view to this Manifest Group
|
|
Description
|
Optional - Informational Only |
|
Start Date
|
Optional - Informational Only
|
|
End Date
|
Optional - Informational Only
|
|
ZPL Template
|
This is your Label Printer Template. You can create Auction, Retail, Inventory labels etc. Depending on the purpose of the Manifest Group, you can select how you want labels to look when printed
|
|
Event ID
|
Required for Auction Platforms which need an ID to indicate where the data should be uploaded. This is also used in the manyfastscan Webhook.
|
|
HiBid Link
|
Optional - Informational Only
|
|
Reporting Exclude
|
When enabled, the data created in the Manifest Group will not display on the Dashboard
|
|
Create Manifest(s) for all Users?
|
Automatically creates a Manifest for each user on the account with the naming convention [Manifest Group Name]_[Employee Initials] |
- User Assignments: Assign specific users to different Manifest Groups, and the Manifests within them.
Click Add, and you have now created a new Manifest Group.
Uploaded Manifests: This is where you assign your supplier provided Uploaded Manifests to your Manifest Group
Data Integration: Your data integration settings will allow you to add or remove retailer/supplier data sources. Default all USA sources are selected.
View Settings: Account level settings cover every user in the Manifest Group. User level settings are specific to the individual users view. This is helpful when you need different view settings for Manifest Groups.
User Assignments: These assignments will make the entity visible to selected users and user groups in addition to all users with the 'All' visibility role.
View Menu: Become Familiar
Manifest Group Filters Menu
The Filters Menu is located in the upper left hand corner of the screen as seen below.
- Show Hidden: Show hidden manifests if you have adjusted the view previously
- Reset all
- Apply Now
Edit Manifest Group
Edit details and save.
Configure View Settings for a Manifest Group
Step 1. Click on the 3 Dot Menu > Configure View Settings.
Step 2. Change View Settings or Leave as Default View Settings
This is your View Settings Menu from here you can
- Change your View Settings Preset Templates
- Choose a Custom premade template
- Copy View Settings to Manifests(These are the manifests within this Manifest Group)
Click Save: You have now Configured the View Settings for a Manifest Group.
Edit: Configure User Assignments
Step 1. Click on the 3 Dot Menu > Configure User Assignments.
Step 2. Select or Unselect Groups
These assignments will make the entity visible to selected users and user groups in addition to all users with the 'All' visibility role.
Related Articles
How to Download a Manifest Group/Manifest
How to Download a Manifest Group This is a step by step process for downloading a Manifest Group for uploading onto your desired sales platform. Step 1. Go To: manyfastscan.com > Manifest Generator > Manifest Group Click on the "Download" icon for ...Manifests
Mobile Web Mobile Create a Manifest Configure User Lot Ranges Edit Manifests Configure View Settings for Manifest Configure User Assignments for Manifest Hide Manifest Delete Manifest View All Manifests Filter Manifests Delete Manifests Special Note: ...Review Product List (Web)
Review Product List (Web) Menu > Manifest Generator > Review Product List Overview The Review Product List page displays all items currently in your Manifests. This is for verifying, editing, and organizing product listings before exporting Manifests ...Sort Buckets
Sort Buckets Menu > Manifest Generator > Sort Buckets What Are Sort Buckets? Sort Buckets are user-defined categories that help organize manifest items within a manifest group. Each bucket can be customized by name, color, and pricing rules (greater ...Vendor Management
Vendor Management What Is Vendor Management? The Vendor Management section allows users to create, manage, and organize sourcing partners in the manyfastscan mobile app. Vendors are attached to manifest items to track product origin, assist in ...