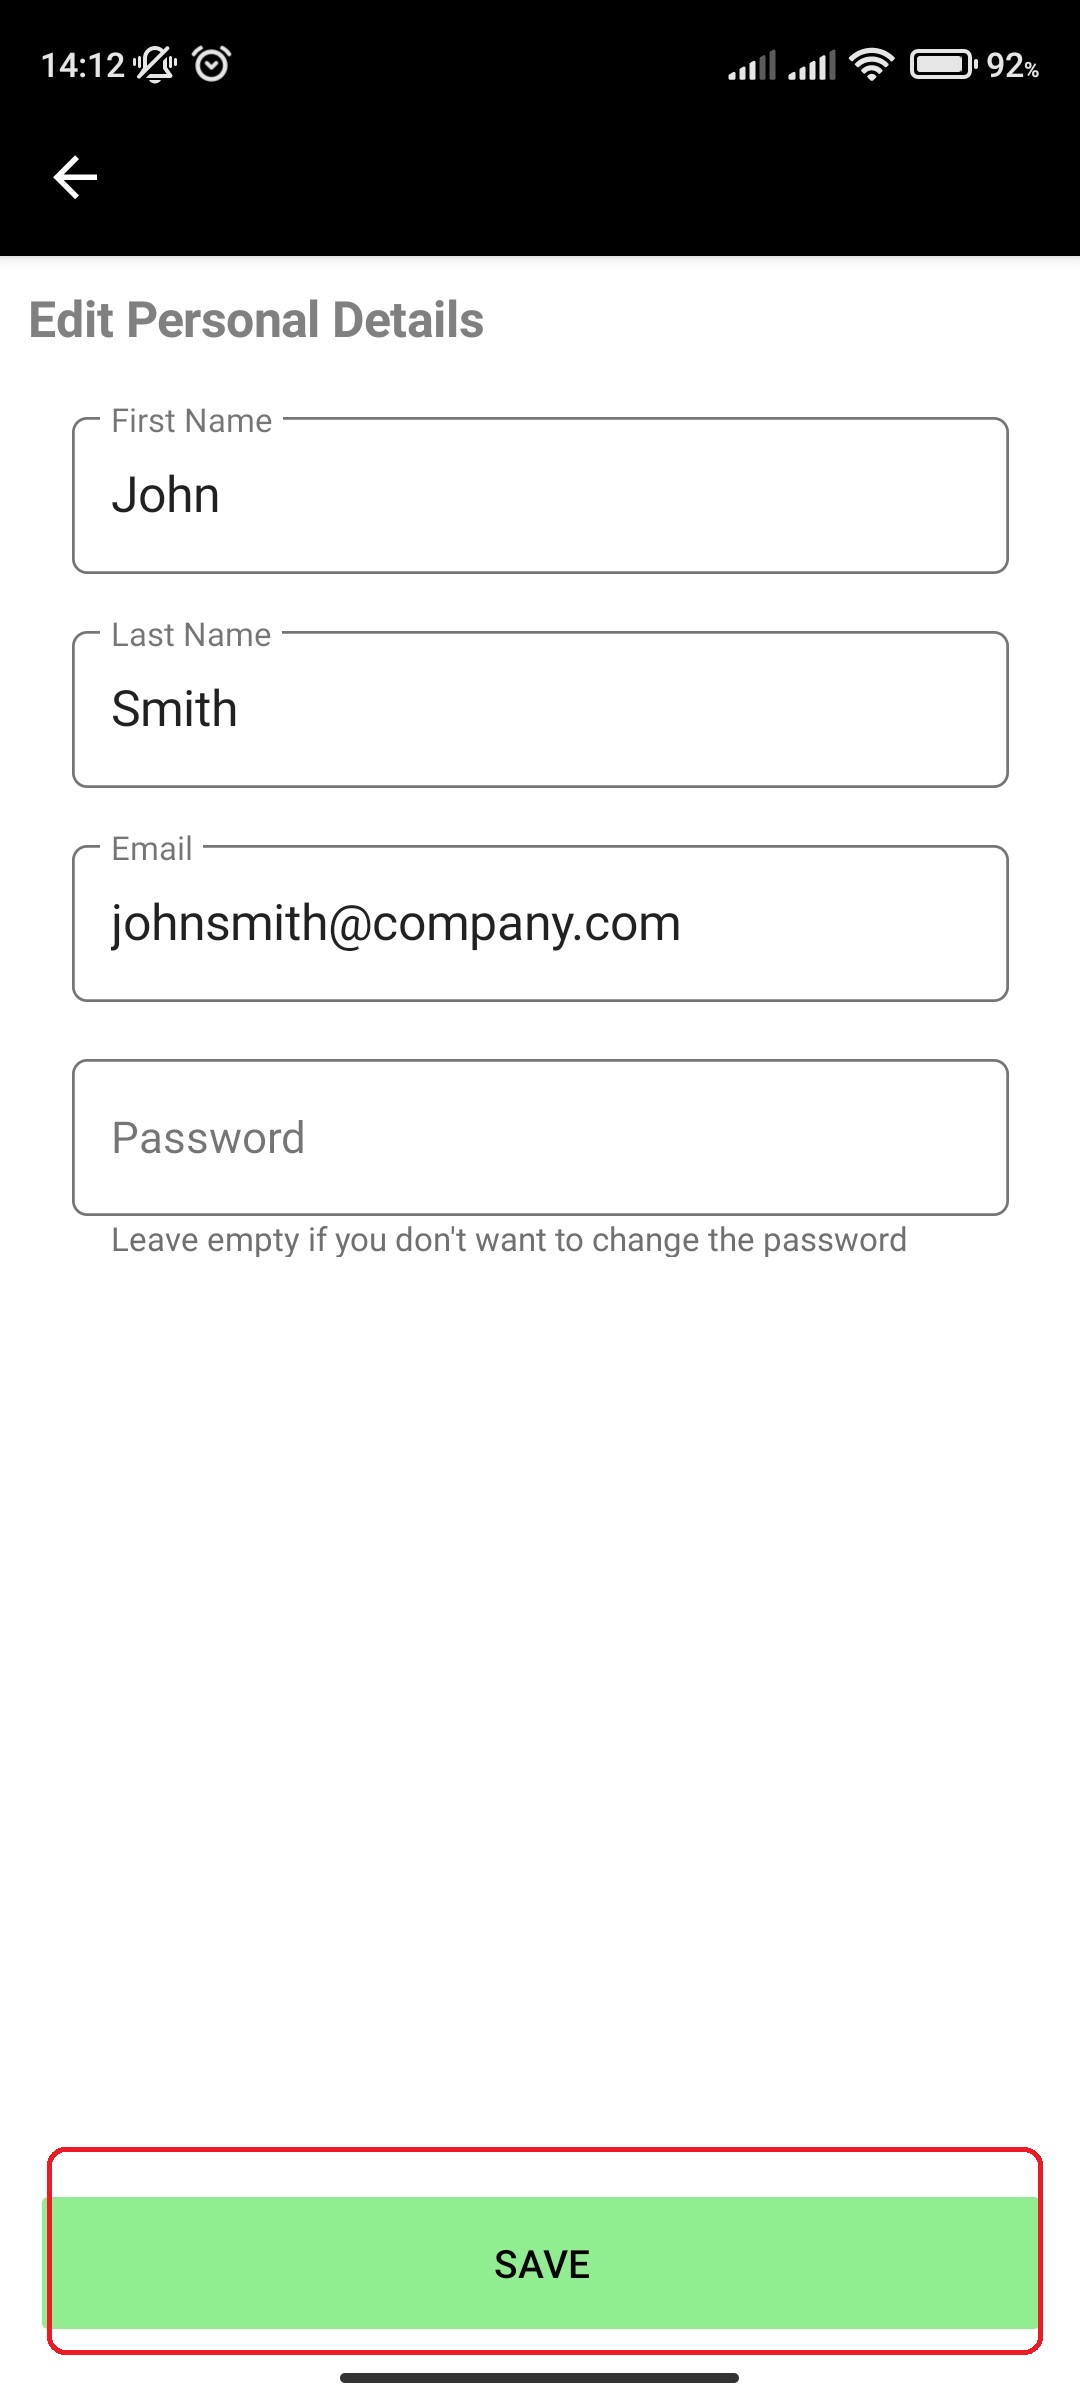
¶ View/Edit personal user account settings
You can view and edit your basic personal user account settings such as:
- First Name
- Last Name
- Password (edit only)
View/edit your personal user settings by doing the following:
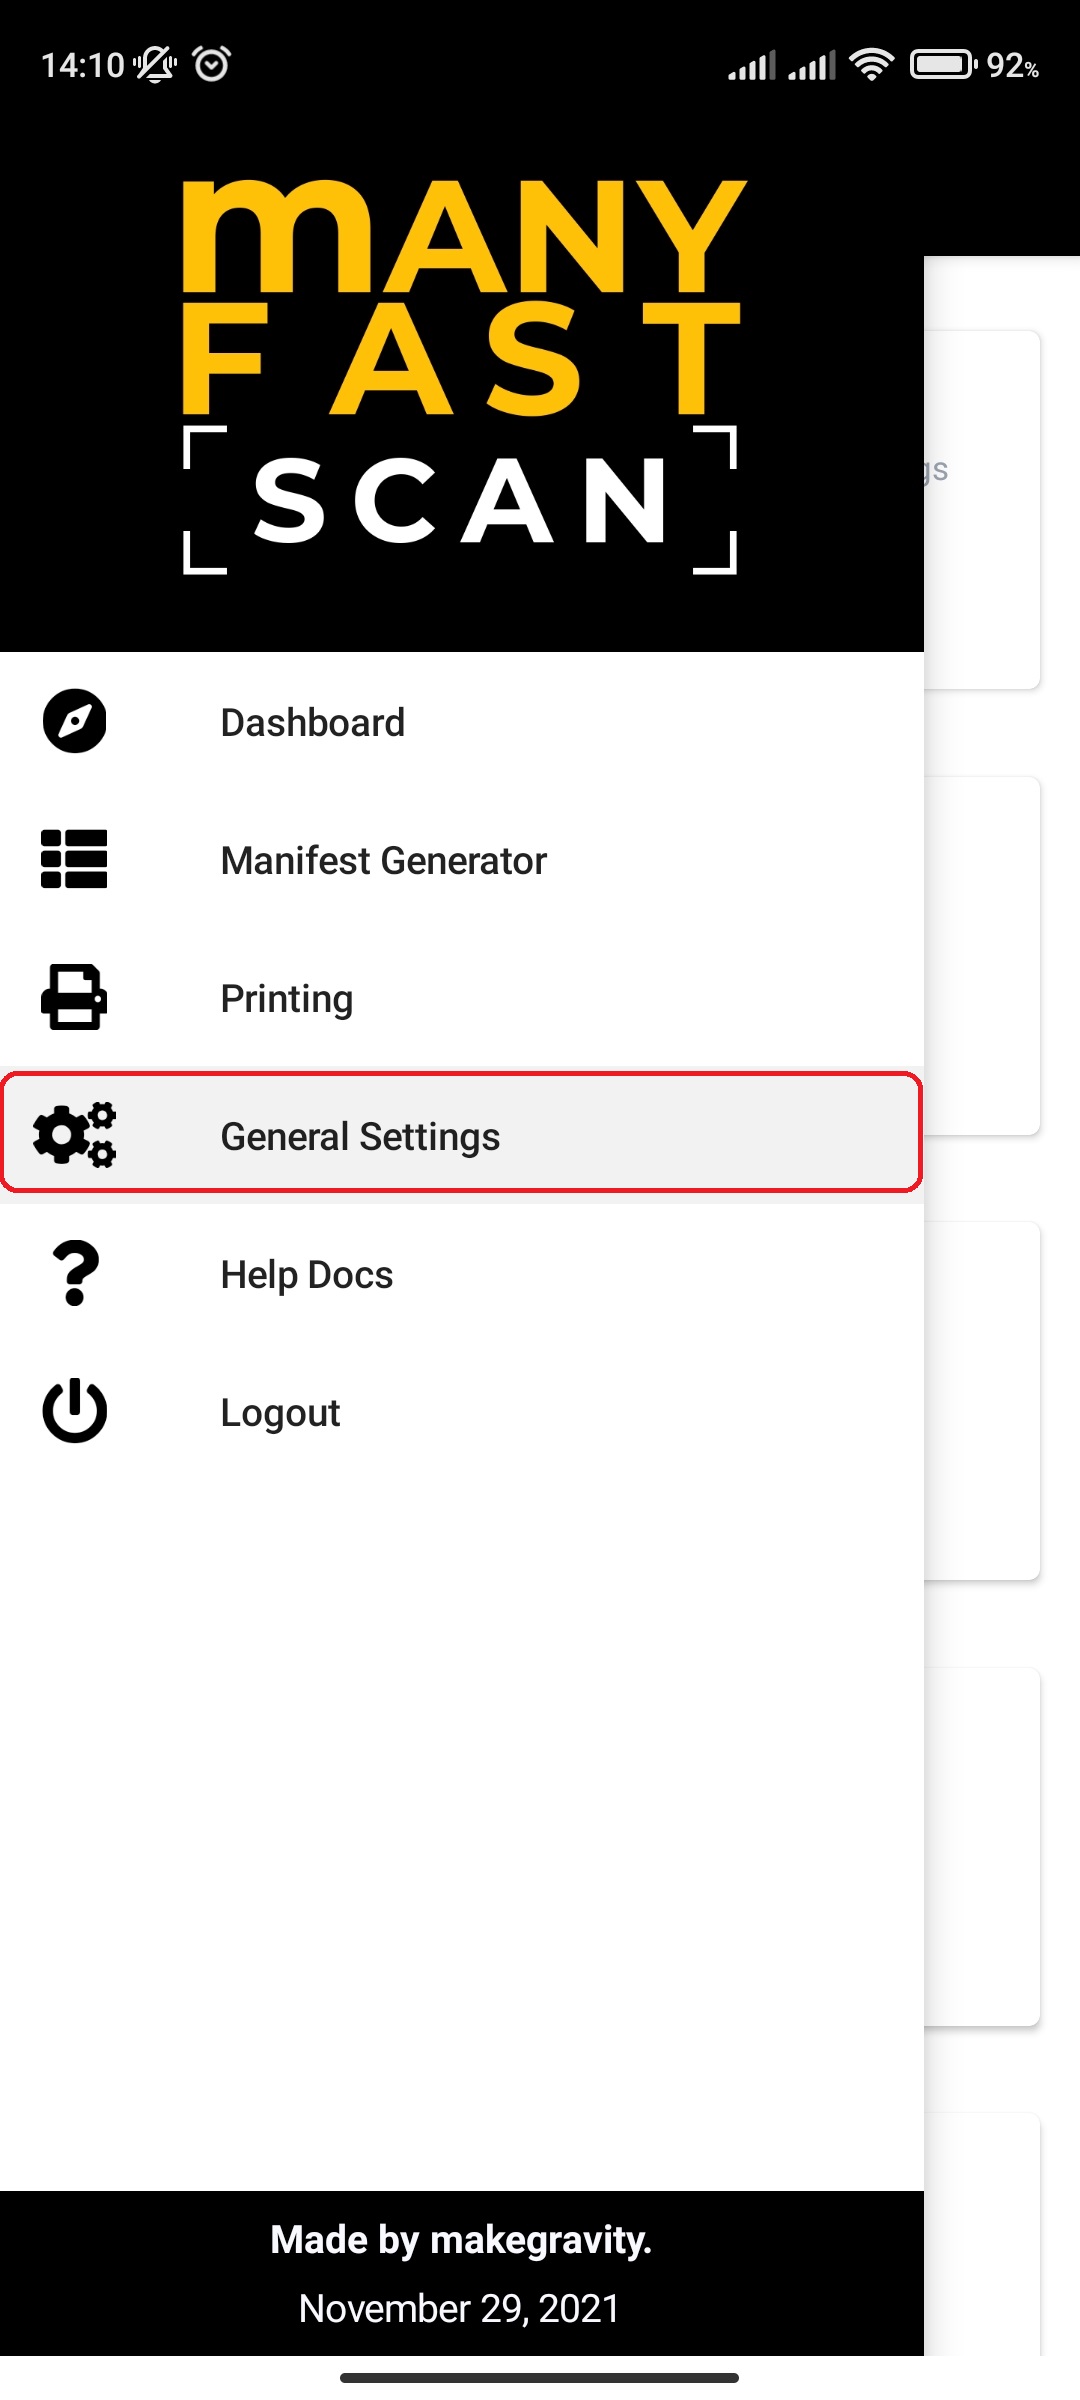
- In main menu, select the General Settings menu option

- Select Personal User Settings option
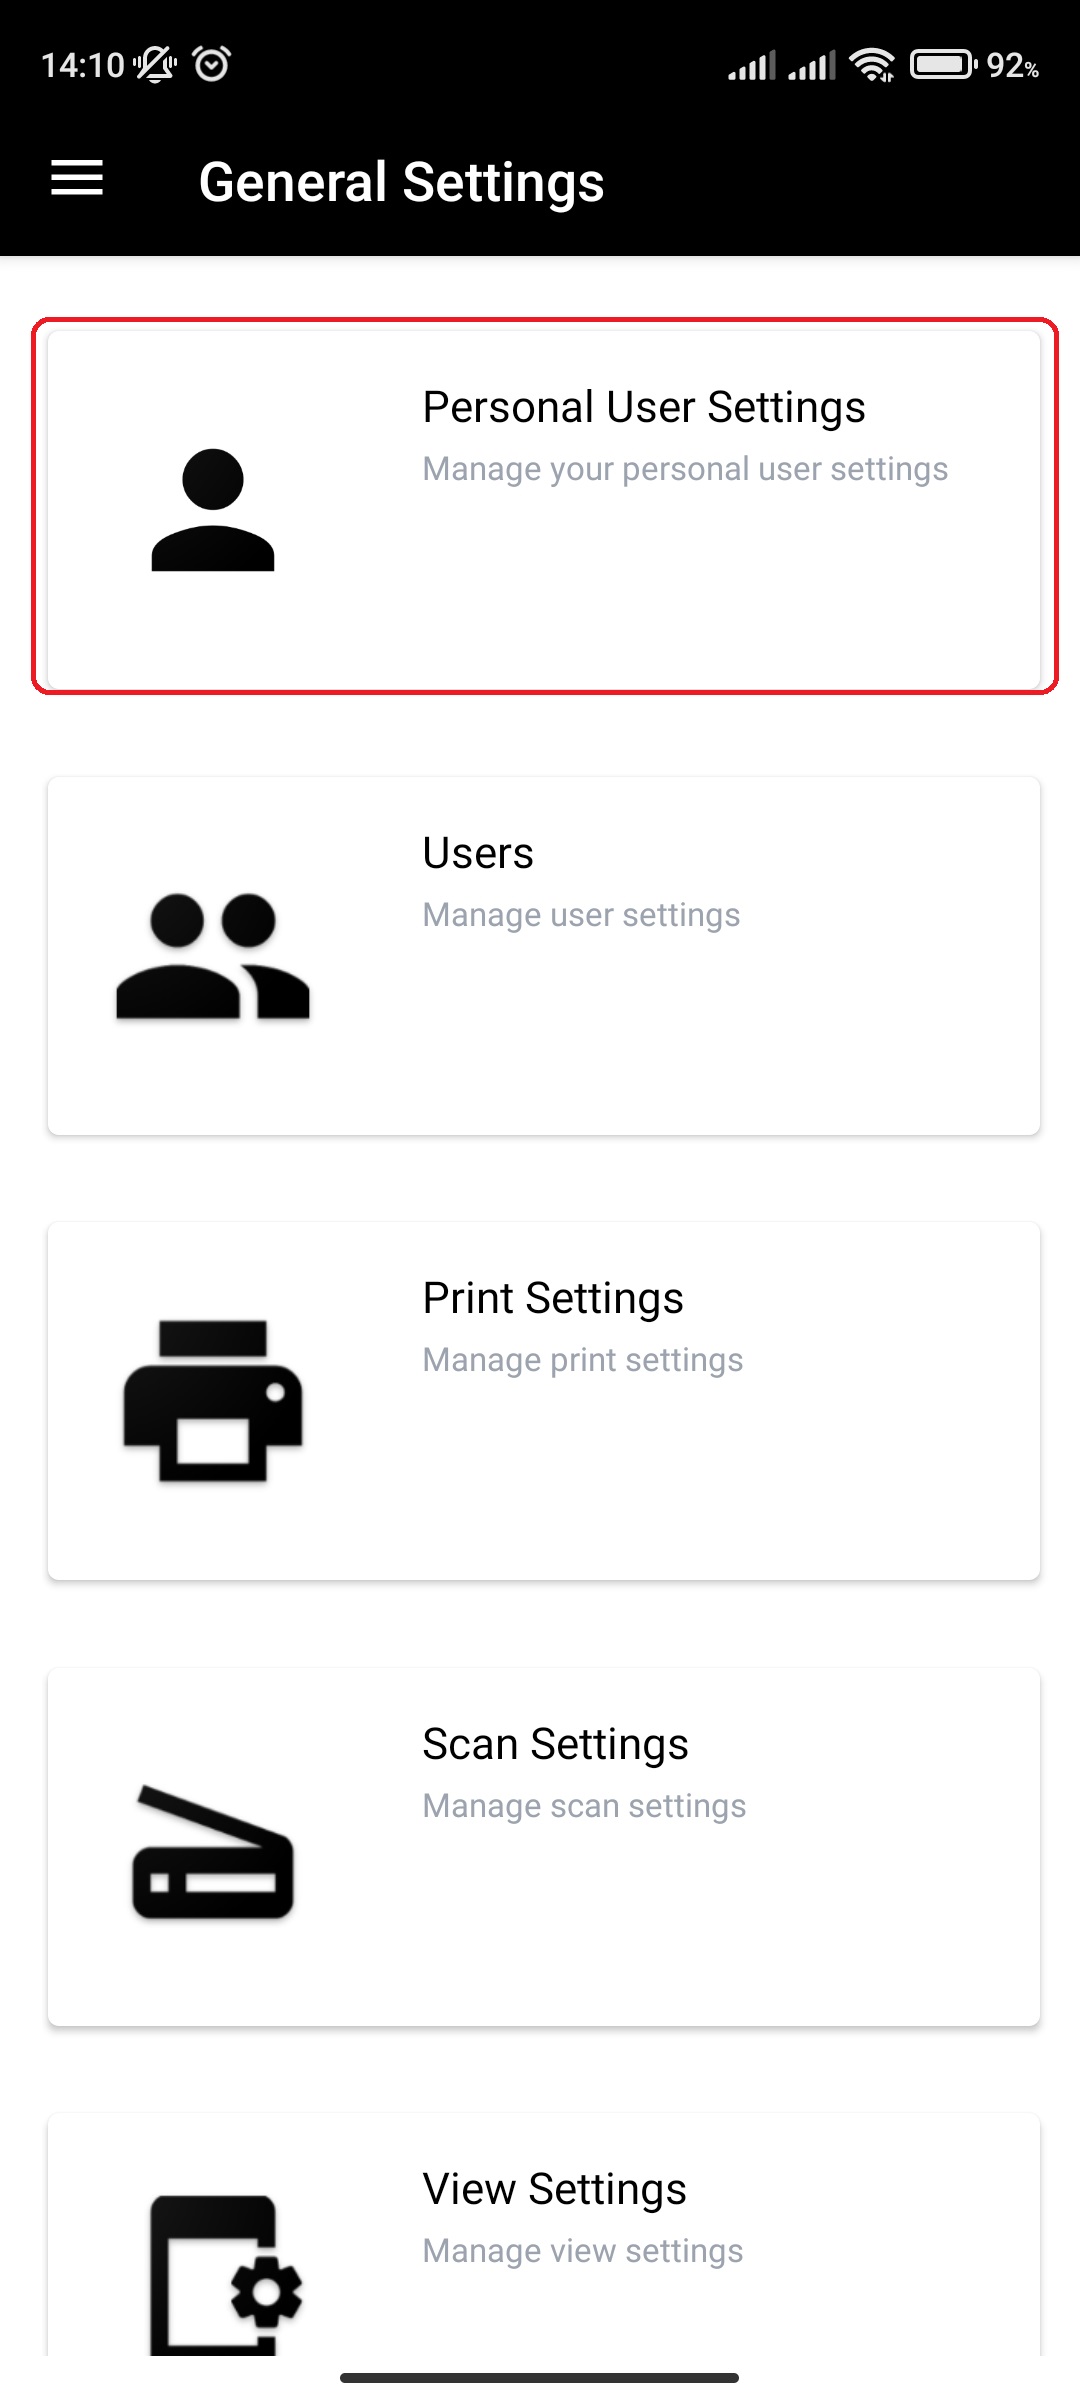
- View and/or edit your settings
- On edit, press Save to save modified settings.
- If password is left blank, it will not be updated
- If password is left blank, it will not be updated
¶ View all Users for an Account (Account Admin only)
You can view informations for all users assigned to your companies account.
View users by doing the following:
- In main menu, select the General Settings menu option
- Select Users option
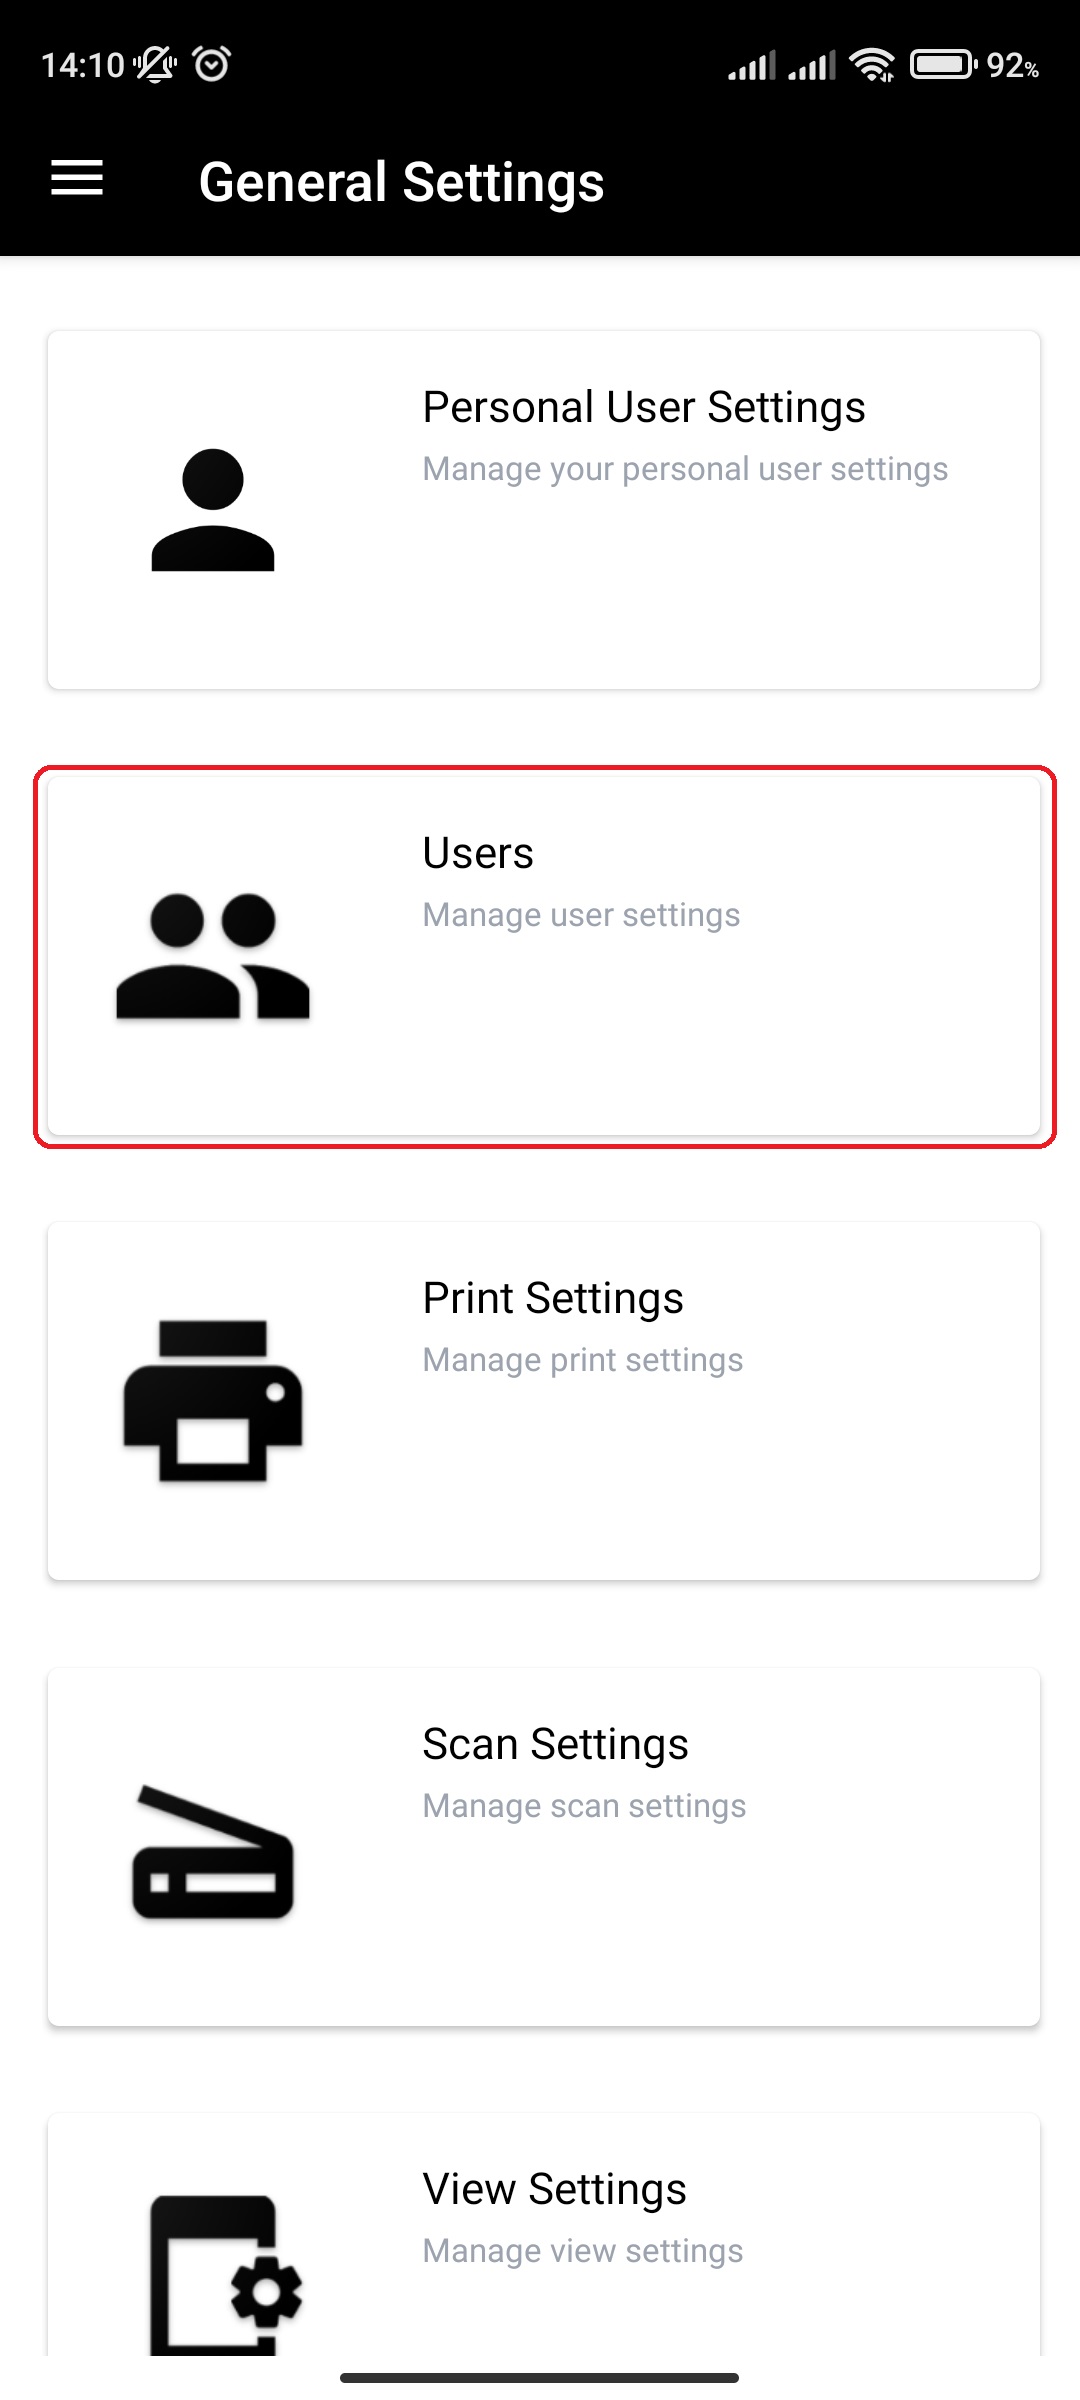
- View all users

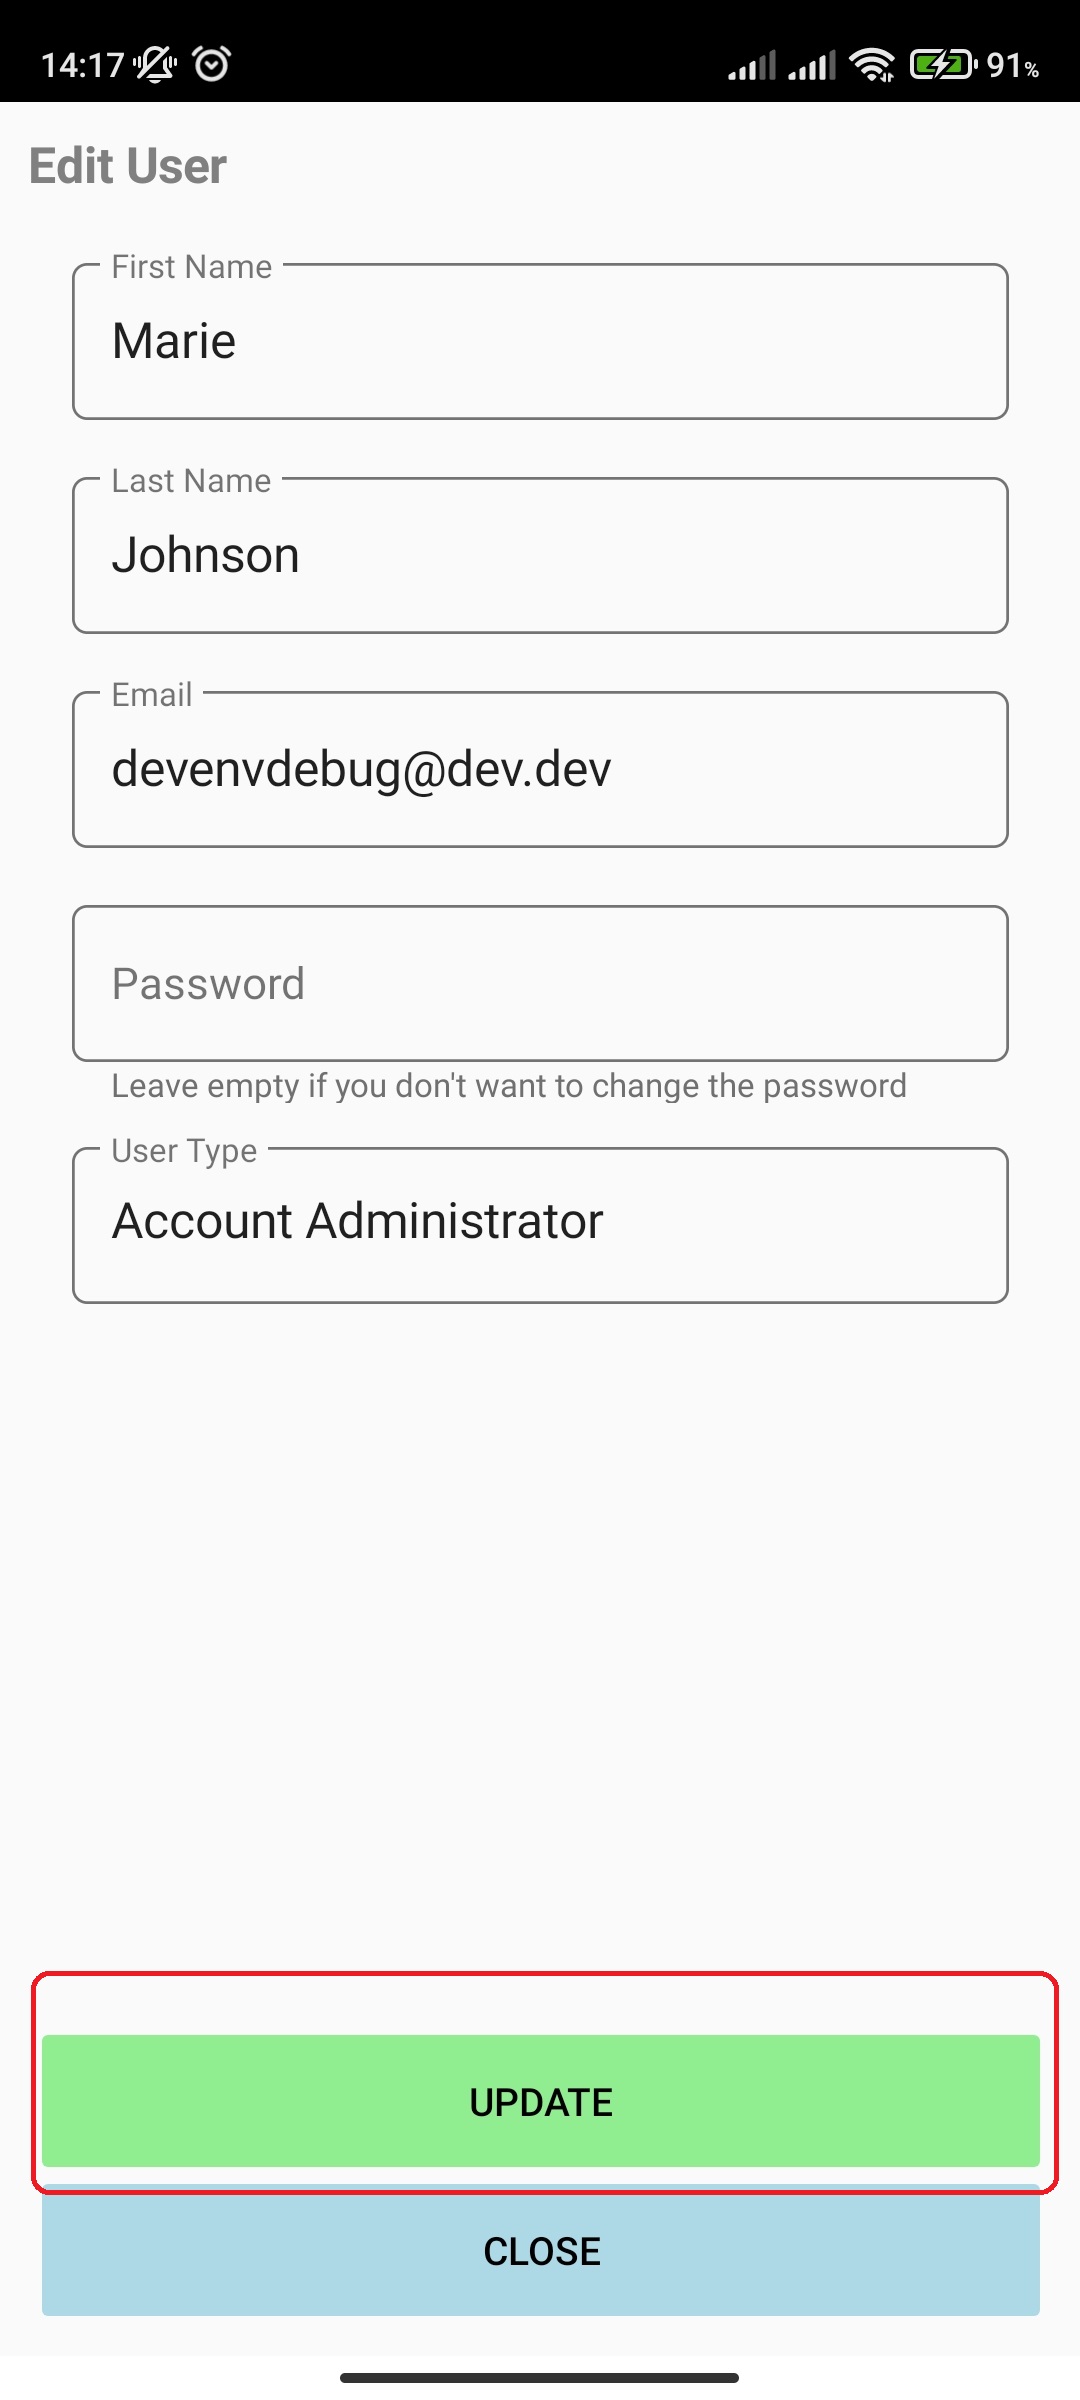
**Edit User Account Settings for an Account (Account Admin only)
You can modify information for all users assigned to your companies account.
Edit users by doing the following:
- In main menu, select the General Settings menu option
- Select Users option
- Right swipe on user row and click on edit to edit user details
- On edit, press Save to save modified settings.
- If password is left blank, it will not be updated
- If password is left blank, it will not be updated
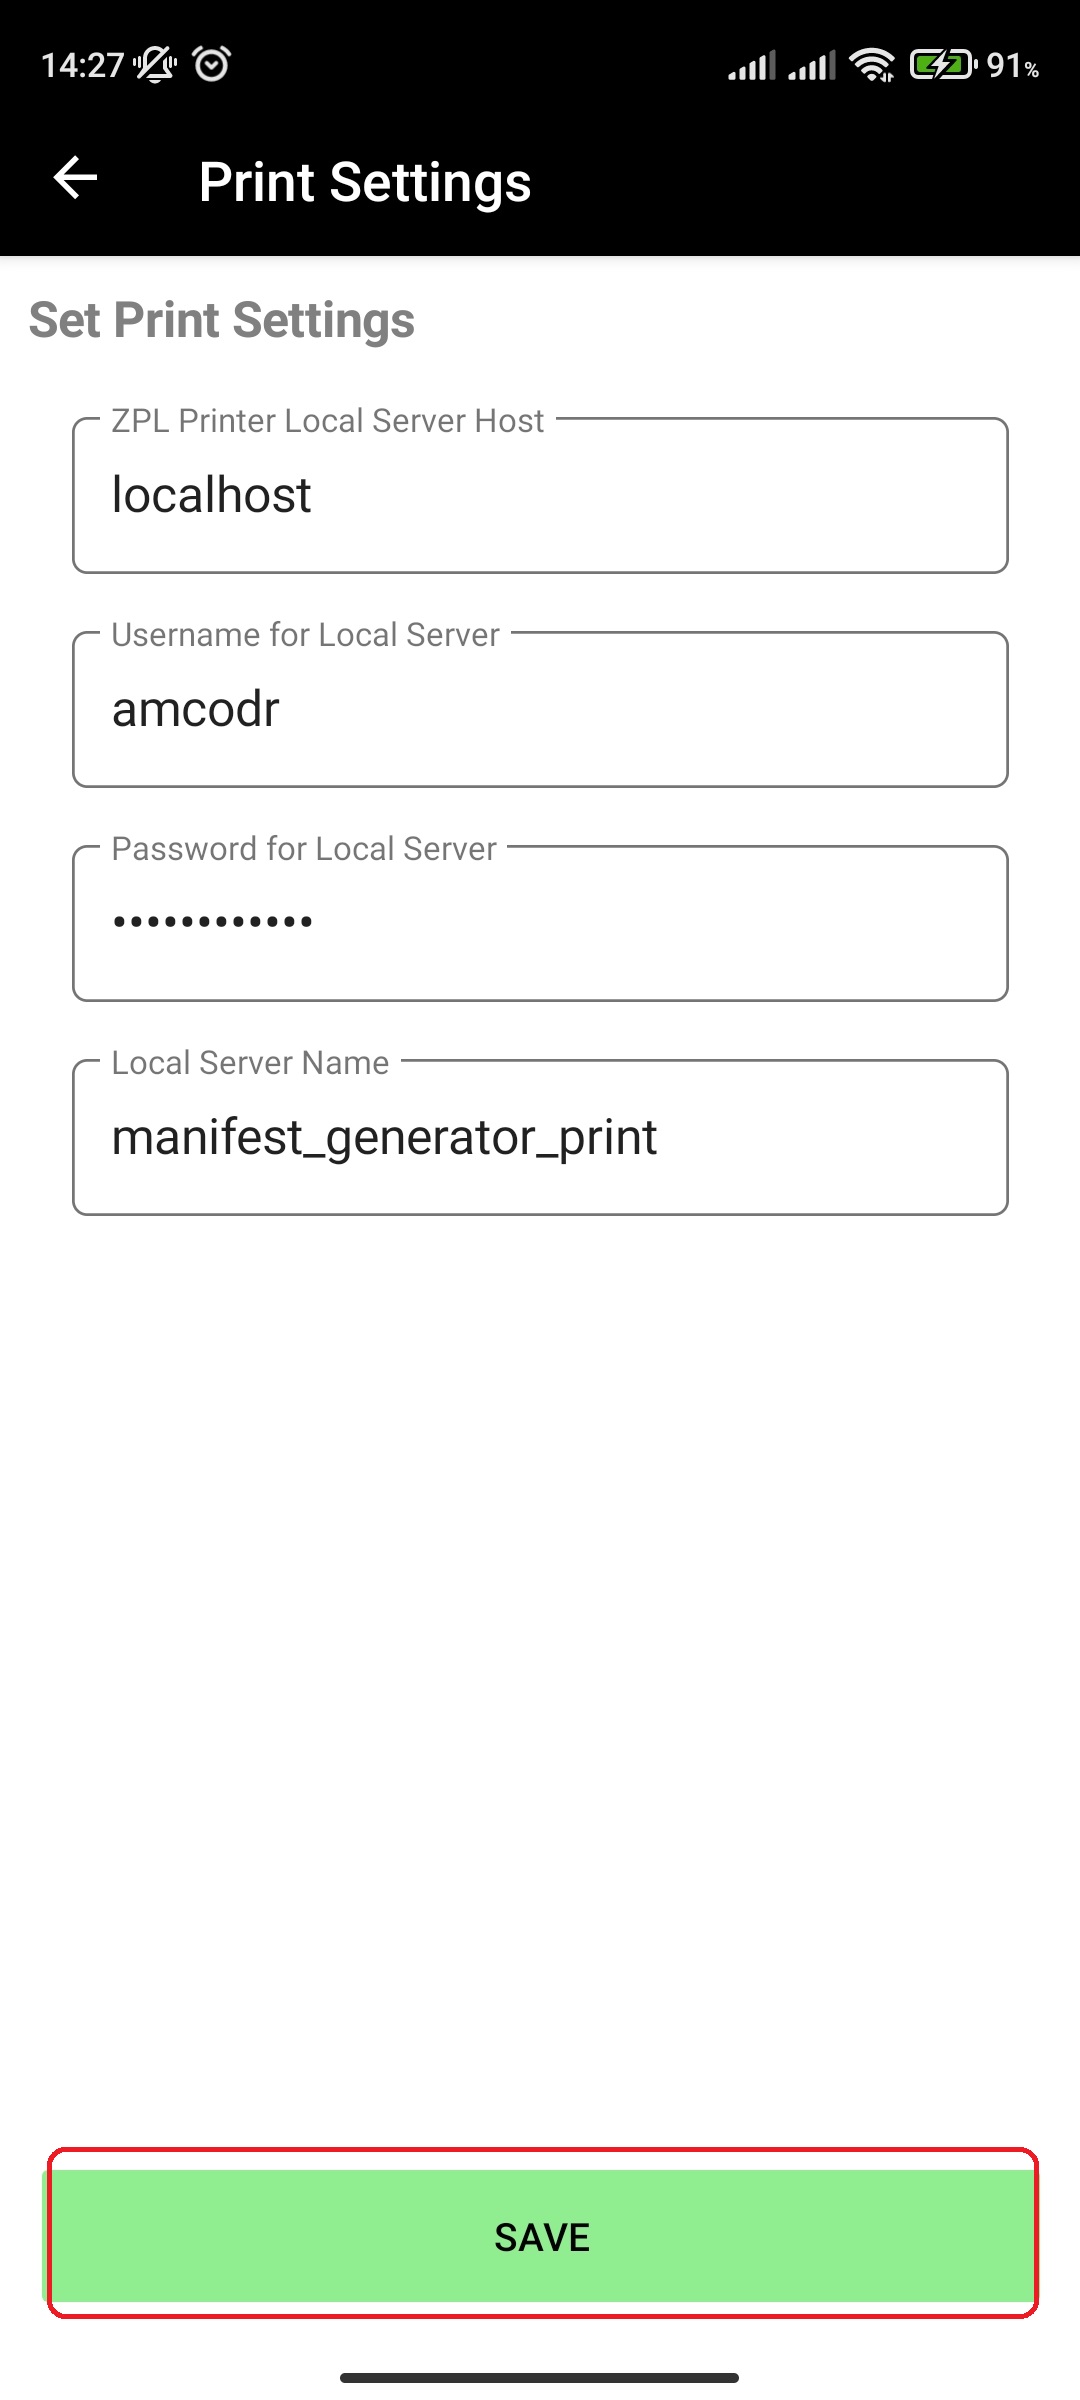
¶ View/Edit Print settings (web application print settings)
You can view and edit print settings by doing the following:
- In main menu, select the General Settings menu option

- Select Print Settings option
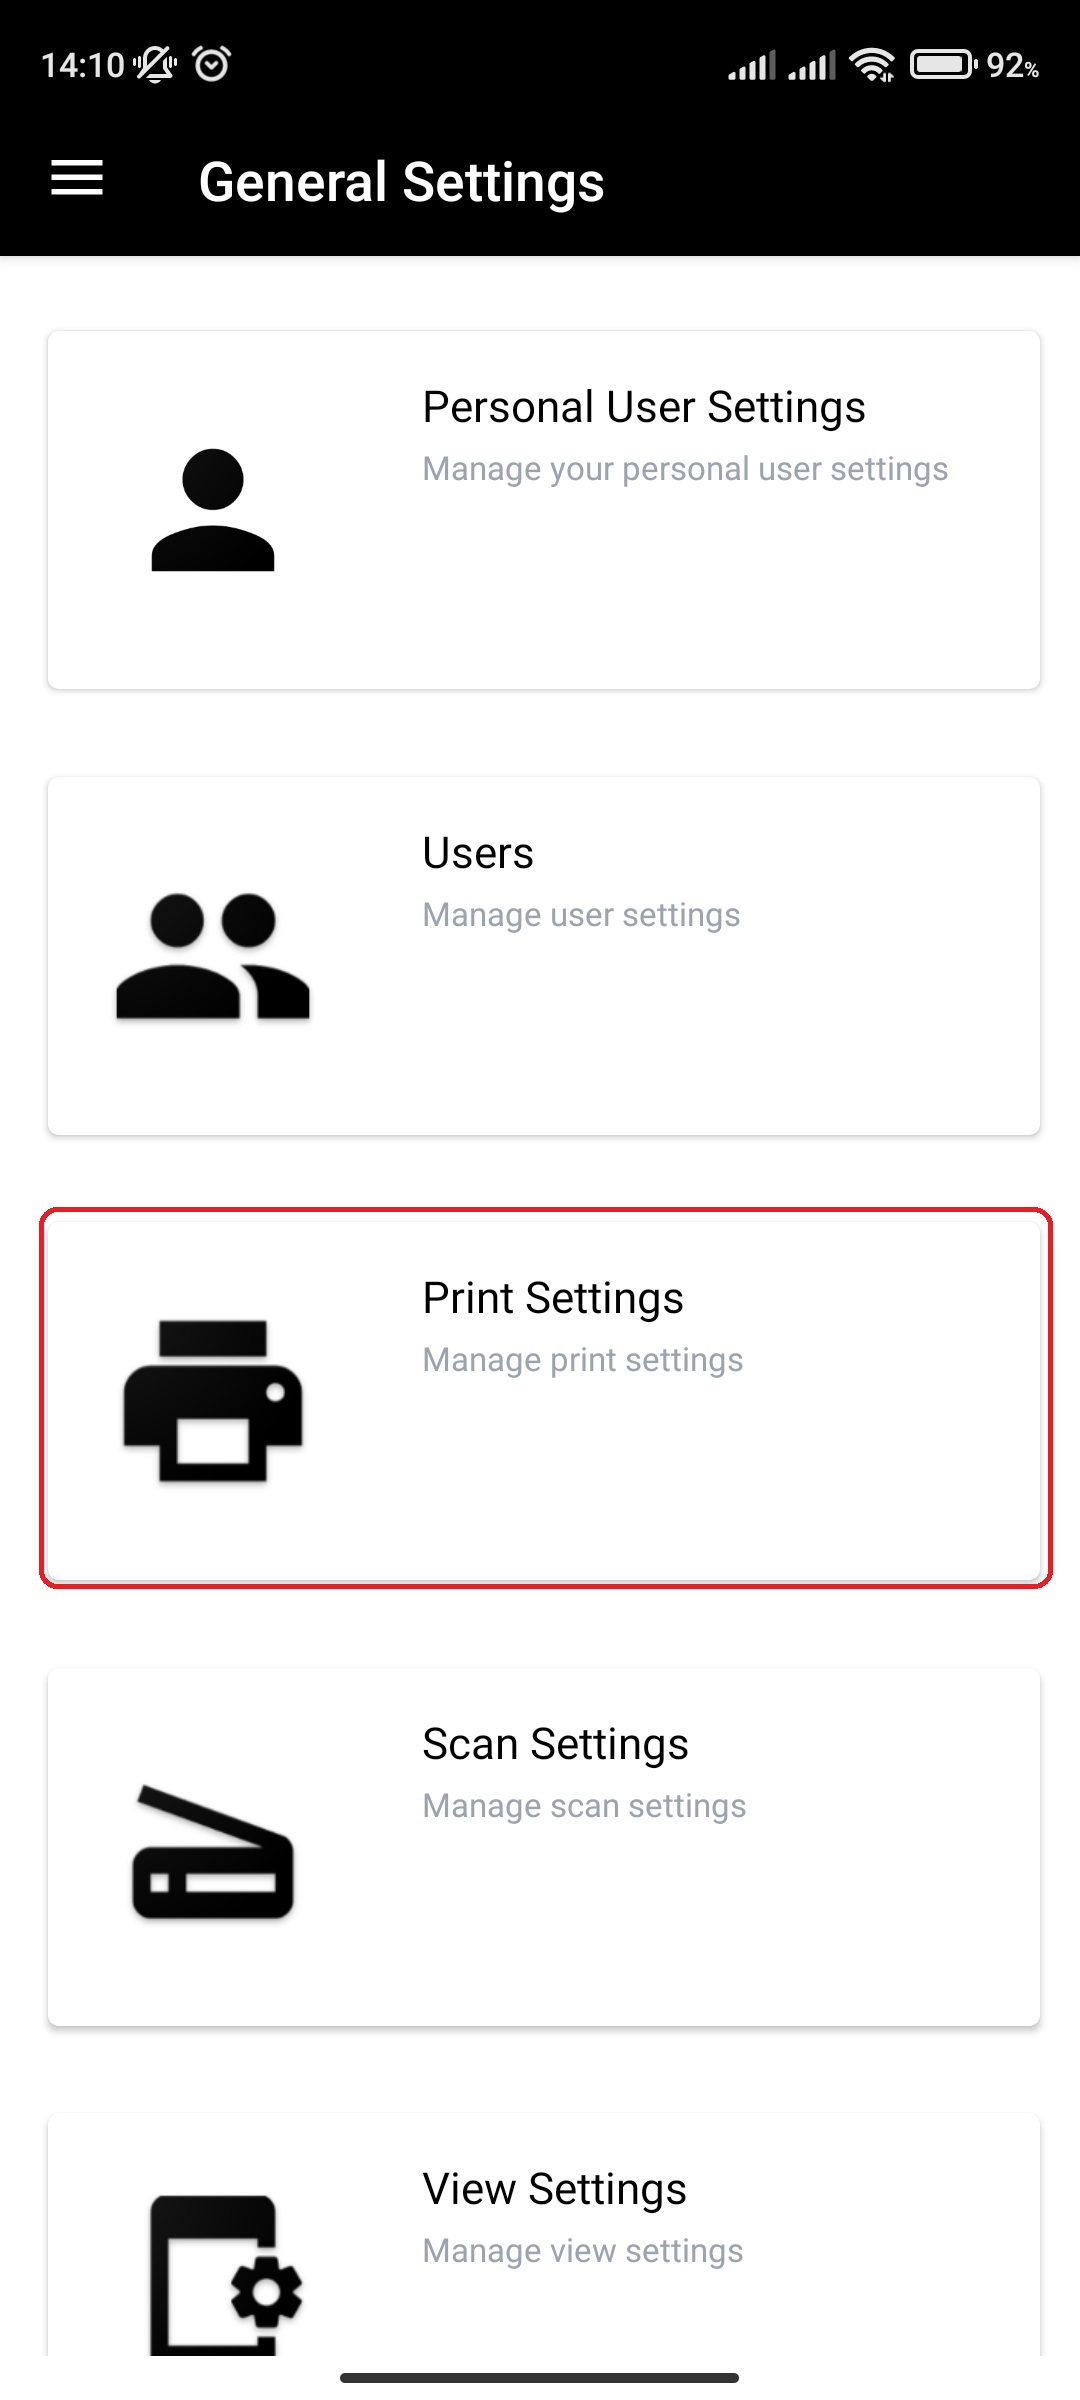
- View and/or edit your settings
- On edit, press Save to save modified settings.
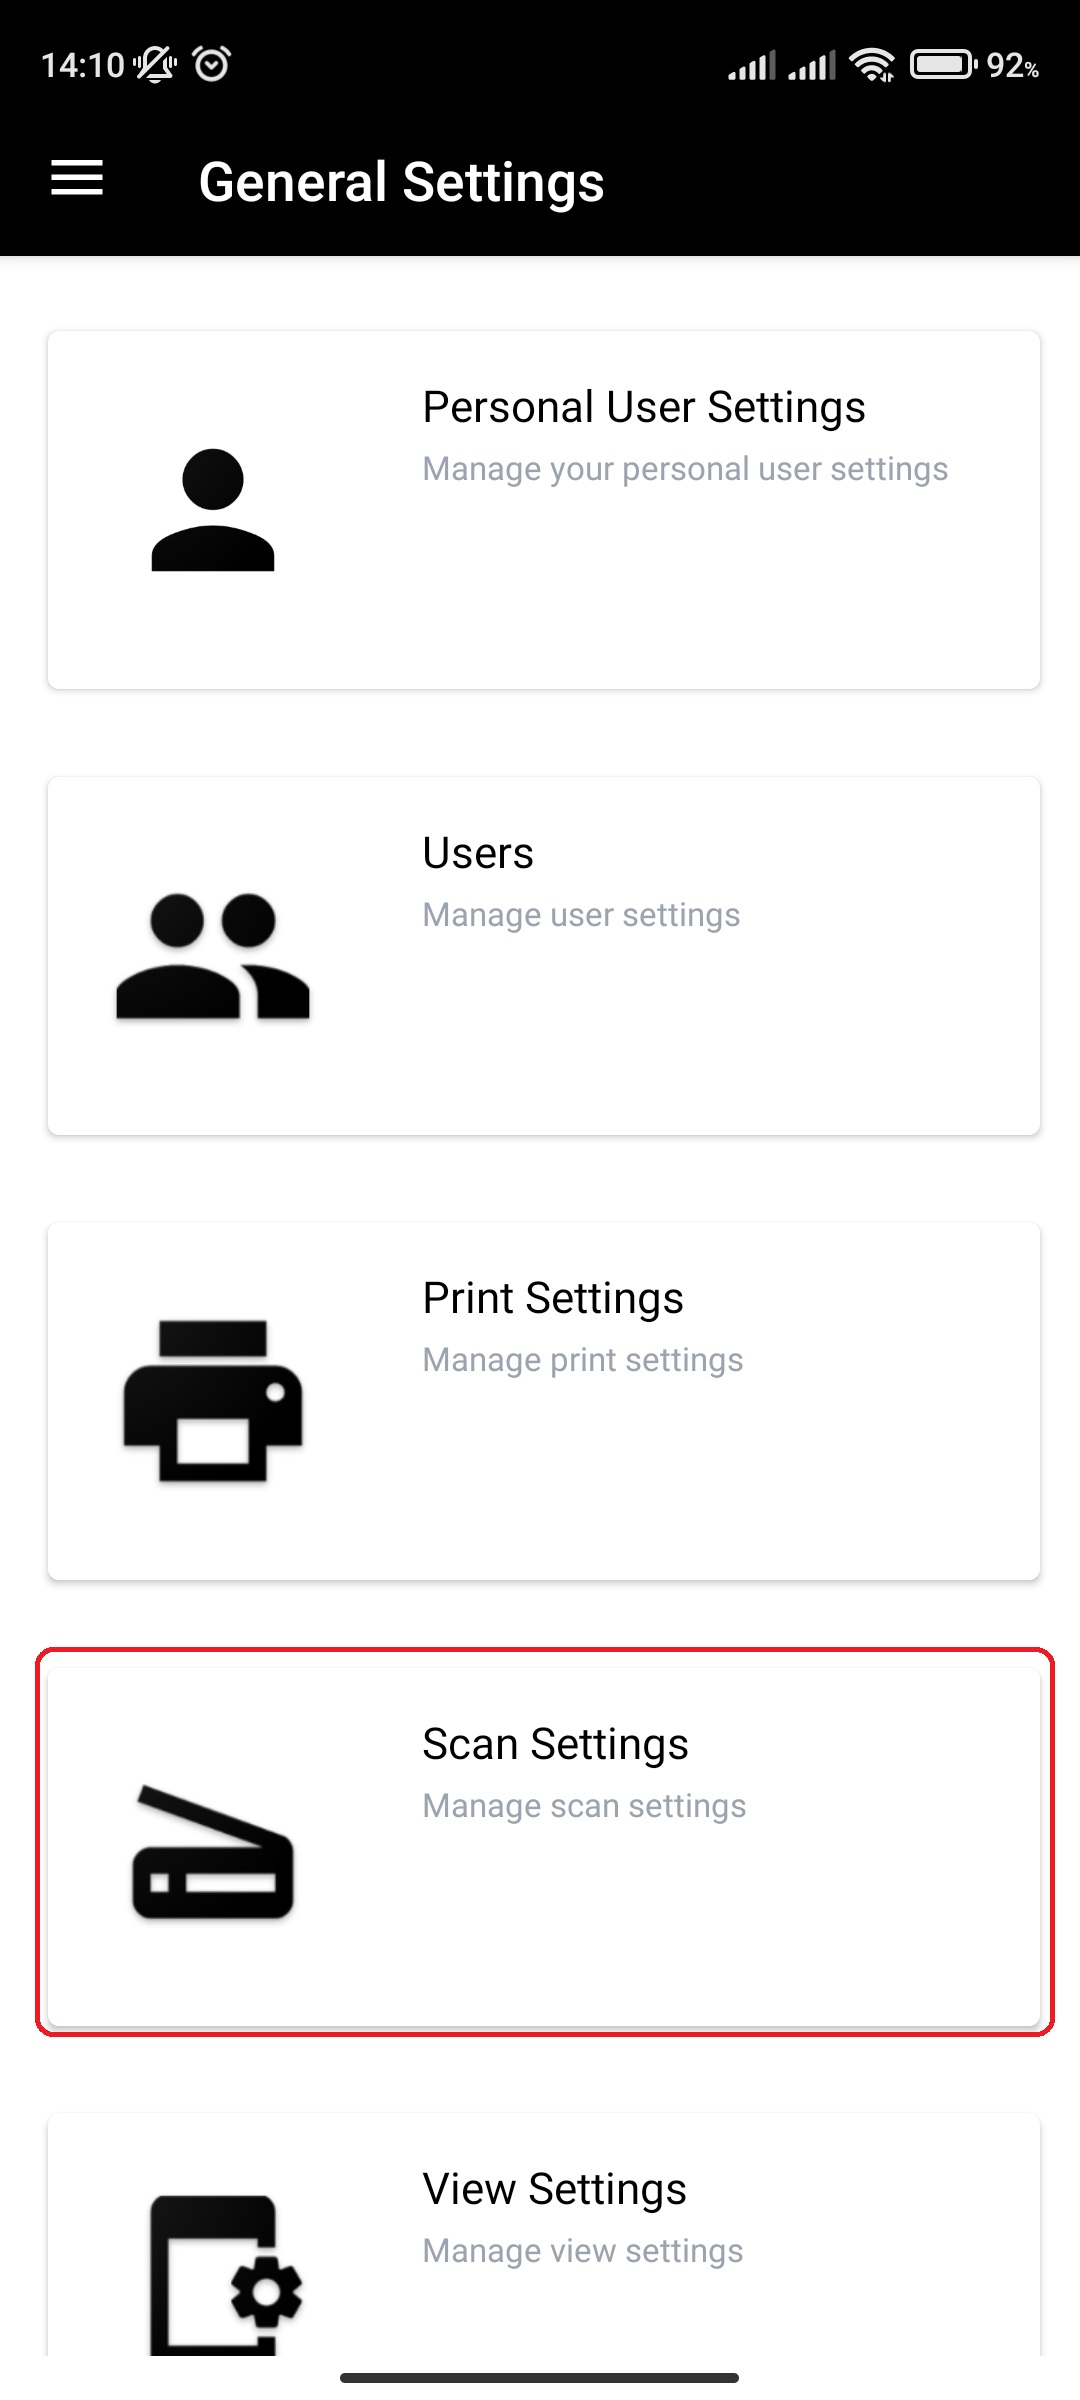
¶ View/Edit Scan settings
Scan settings are used as settings throughout the application. Brief overview of all scan settings:
-
NoUPC Express Entry
- Creation of NoUPC items without adding photos and more details
-
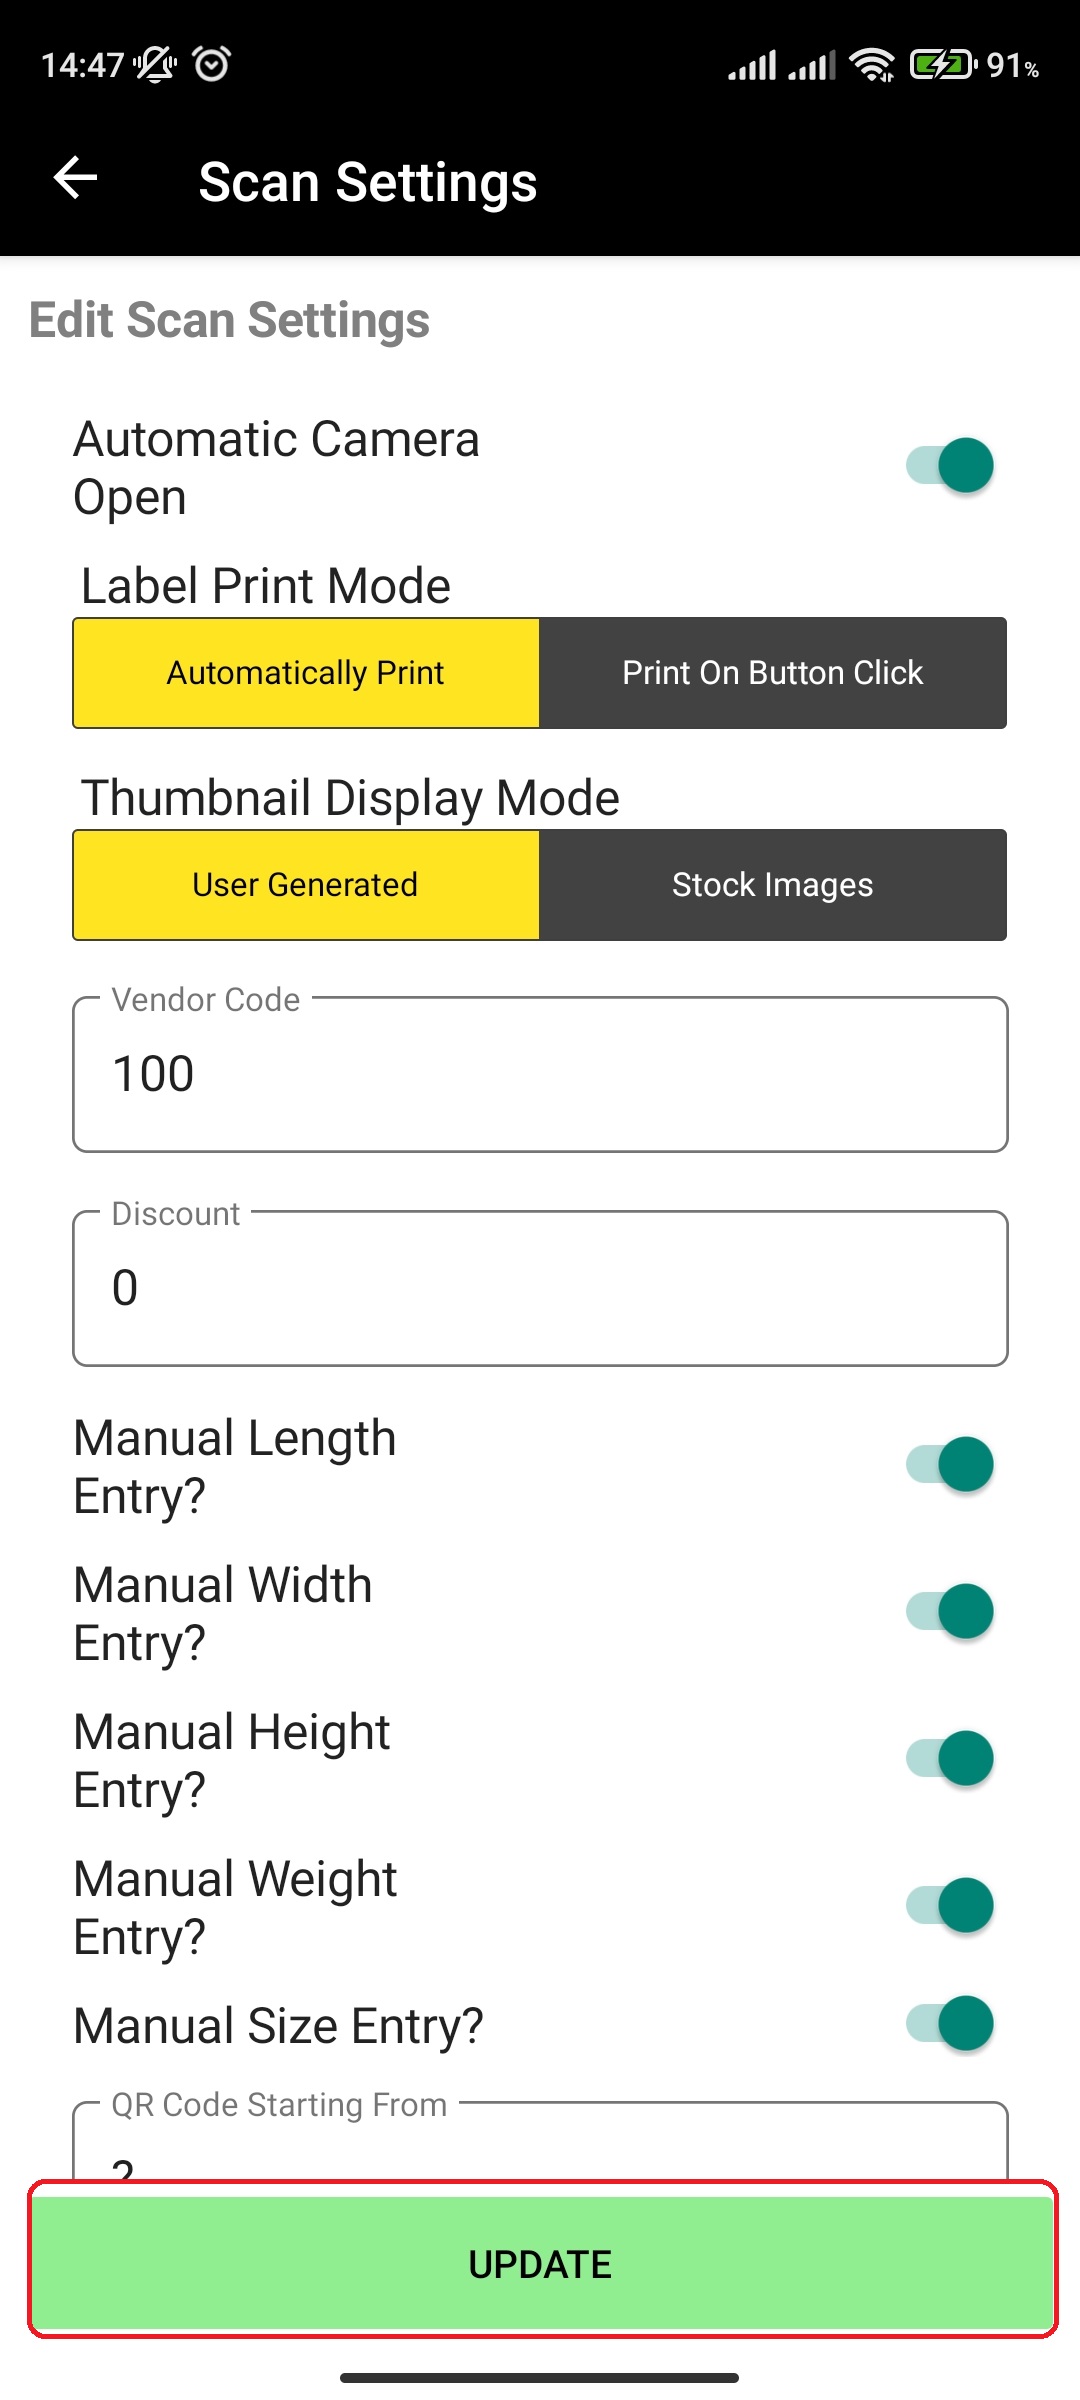
Automatic Camera Open
- Determines if the camera should automatically open after new manifest item is added. Skips the need for manual press photo button action.
-
Label Print Mode
- After more details are added for item, if the Label Print Mode is set to Automatically Print, it will print automatically when you click on Save. If the Label Print Mode is set to Print On Button Click, the label will print only if you click „Save And Print“
-
Thumbnail Display Mode
- Determines if the default thumbnail for manifest items is from User Generated source (user uploaded photos) or from Stock Images source (external source, retailers and Internet).
-
Rescan Preferred Mode
- Always Ask - Prompts user on rescan to print label.
- Insert to Manifest - Adds rescanned item to current manifest.
- Insert & Print - Adds rescanned item to current manifest and prints label.
-
Vendor Code
- Default vendor code to be applied to manifest items
-
Discount
- Discount applied to manifest items
-
Manual entries (Length, Width, Height, Weight, Size)
- Determines if you will have those fields present when adding new manifest item on Add More Details view
-
QR Code Starting From
- Determines the prefix for QR Codes printed on labels. Leaving ? as default is fine
-
Default Damage Description
- Sets default value for Damage Description when adding an item to a manifest. Displays when Damage = 'Yes'
-
Default Missing Parts Description
- Sets default value for Missing Parts Description when adding an item to a manifest. Displays when Missing Parts = 'Yes'
-
Renumber Lots
- …
-
Wait Time For Search Price
- Wait time in seconds for how long the app will wait for proper pricing information from MFSEngine, if there is such pricing info. If there is no pricing information available, you will be prompted for price estimate.
-
Estimate Price Popup Enabled?
- Determines if the Estimate Price popup will be displayed or not if the pricing information wasn't found.
-
Number of Stock Photos to Collect
- Determines the number of stock photos collected and shown for each item
-
Skip Photo Capture Screen on New Scan
- When scanning a new item, the user will not be prompted for any photos. Useful when generating manifests only
-
Skip Conditions Screen on New Scan
- When scanning a new item, the user will not be prompted for any condition statements, notes, or additional details on the item. Useful when generating manifests only
-
Skip Pricing Screen On New Scan?
- The Pricing Screen is helpful for auctioneers who want to verify retail price. If you are a retailer, and need to price your items to sell, it's now easier than ever to get the item's MSRP and automatically apply a discount!
You can view and edit scan settings by doing the following:
- The Pricing Screen is helpful for auctioneers who want to verify retail price. If you are a retailer, and need to price your items to sell, it's now easier than ever to get the item's MSRP and automatically apply a discount!
-
In main menu, select the General Settings menu option

-
Select Scan Settings option
-
View and/or edit your scan settings
-
On edit, press Save to save modified settings.
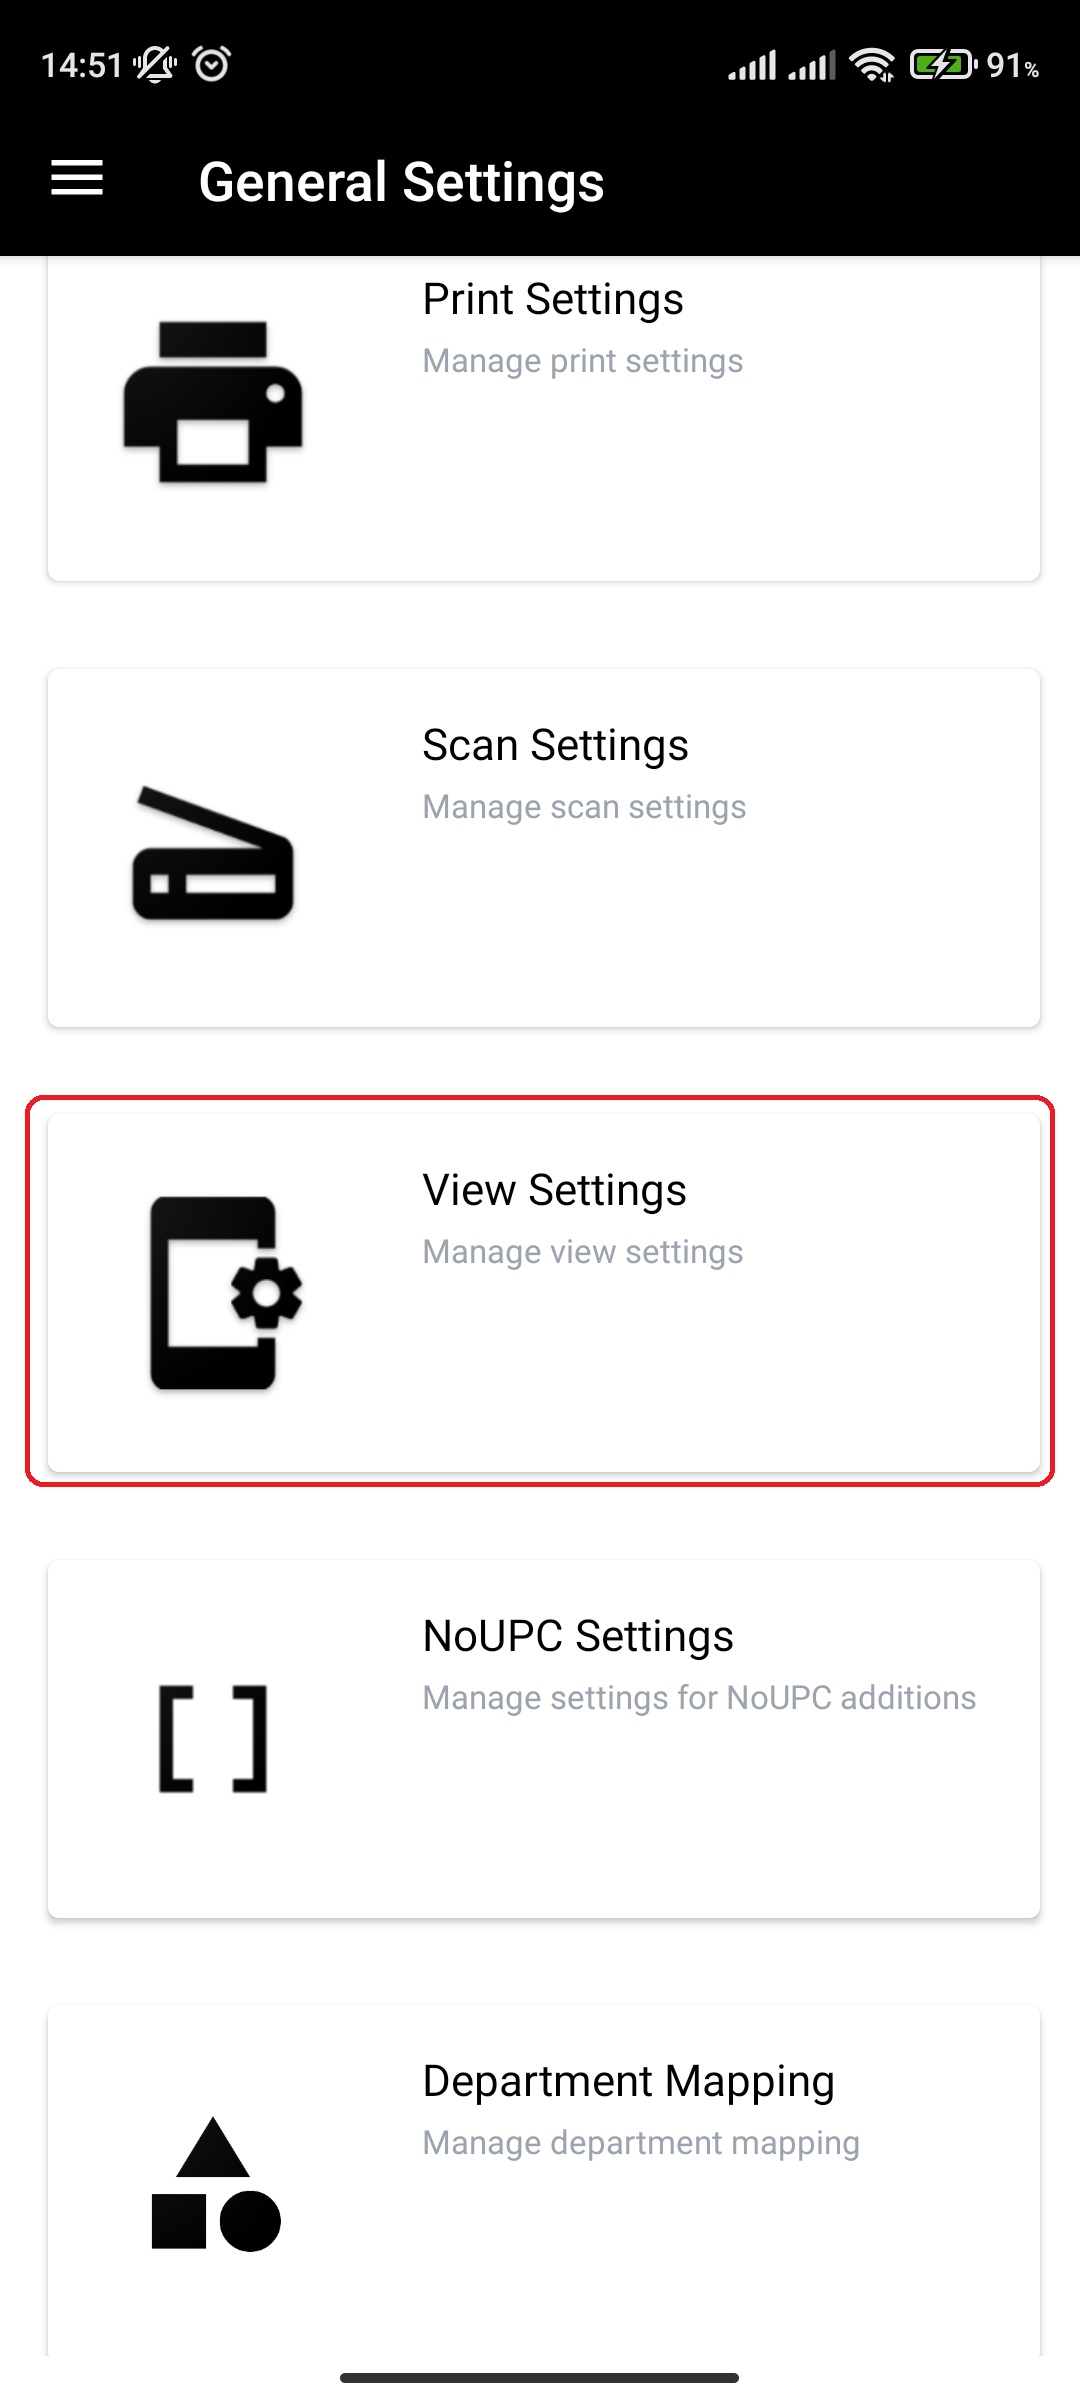
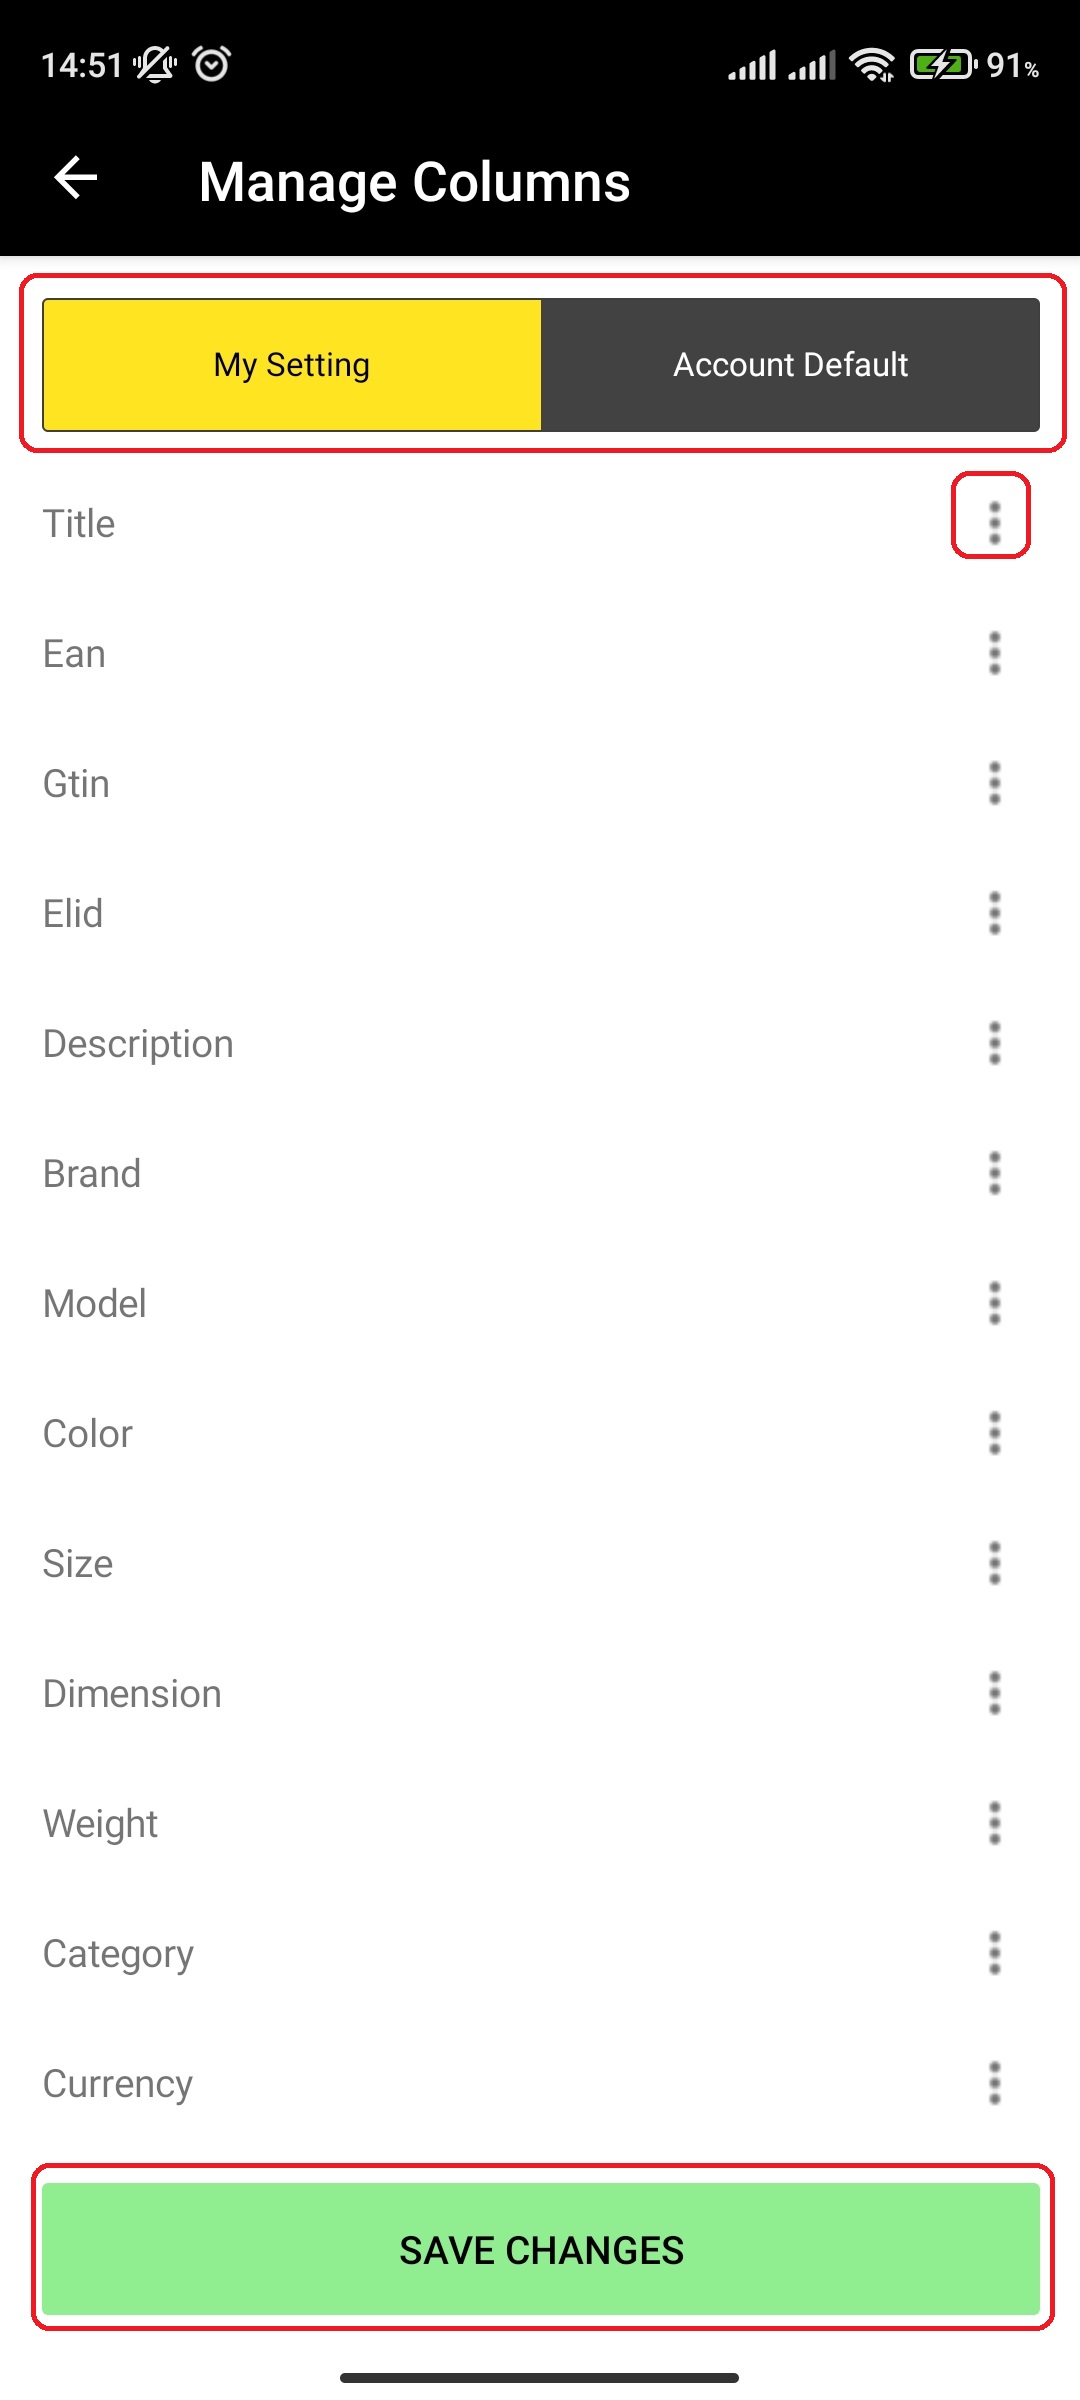
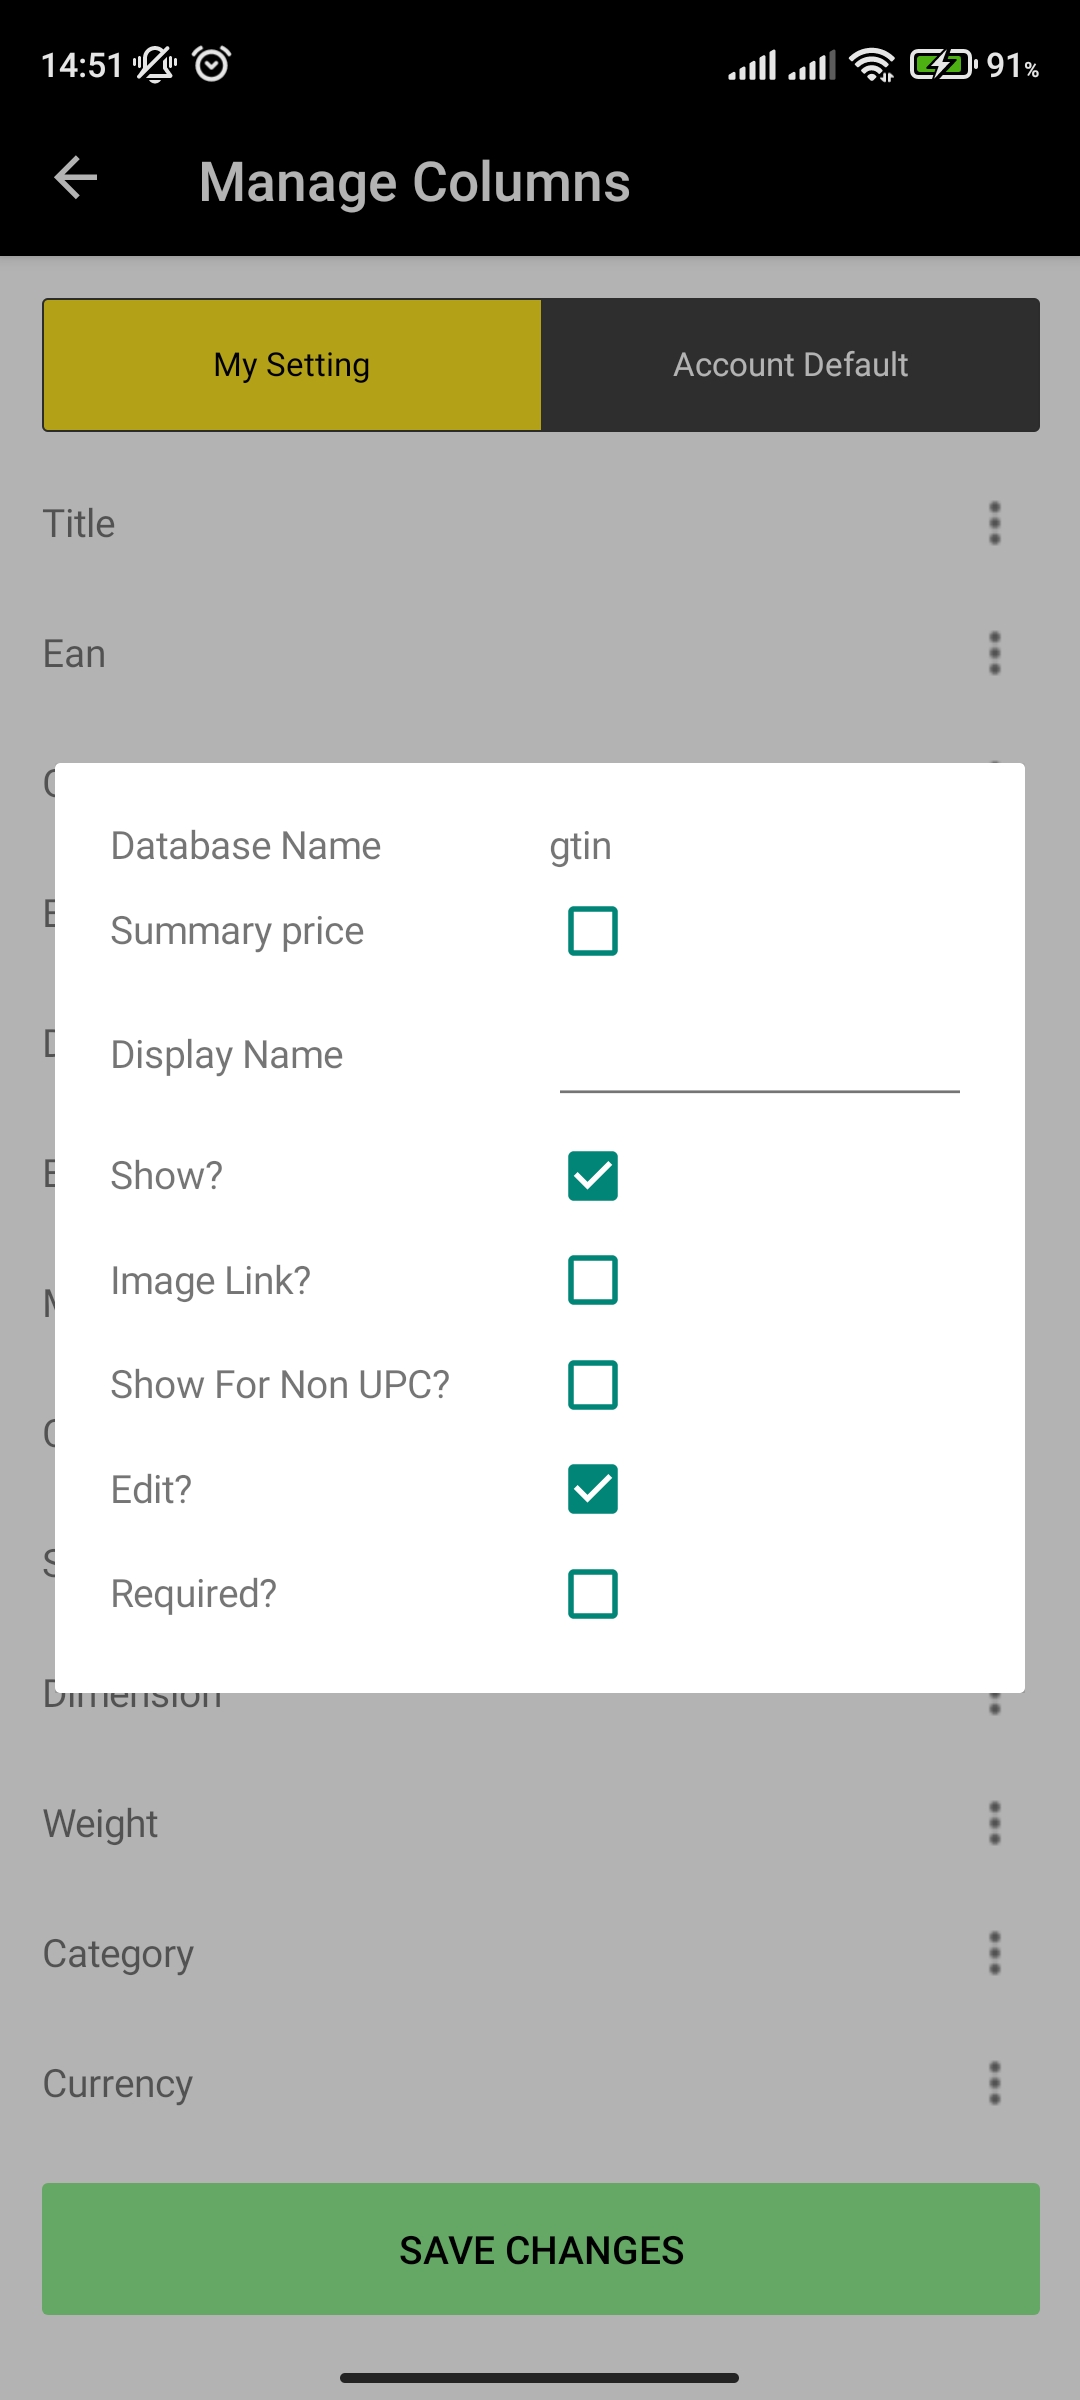
¶ View/Edit View settings
View settings are used to show and hide specific fields. Currently this functionality isn't being supported in mobile application. Web application dynamically shows the fields based on settings set in View Settings.
You can view and edit View settings by doing the following:
- In main menu, select the General Settings menu option

- Select View Settings option
- View and/or edit your view settings by clicking more details button to the right of the row (three vertical dots)
- Edit available properties for fields in a popup
- Edit available properties for fields in a popup
- On edit, press Save Changes to save modified settings.
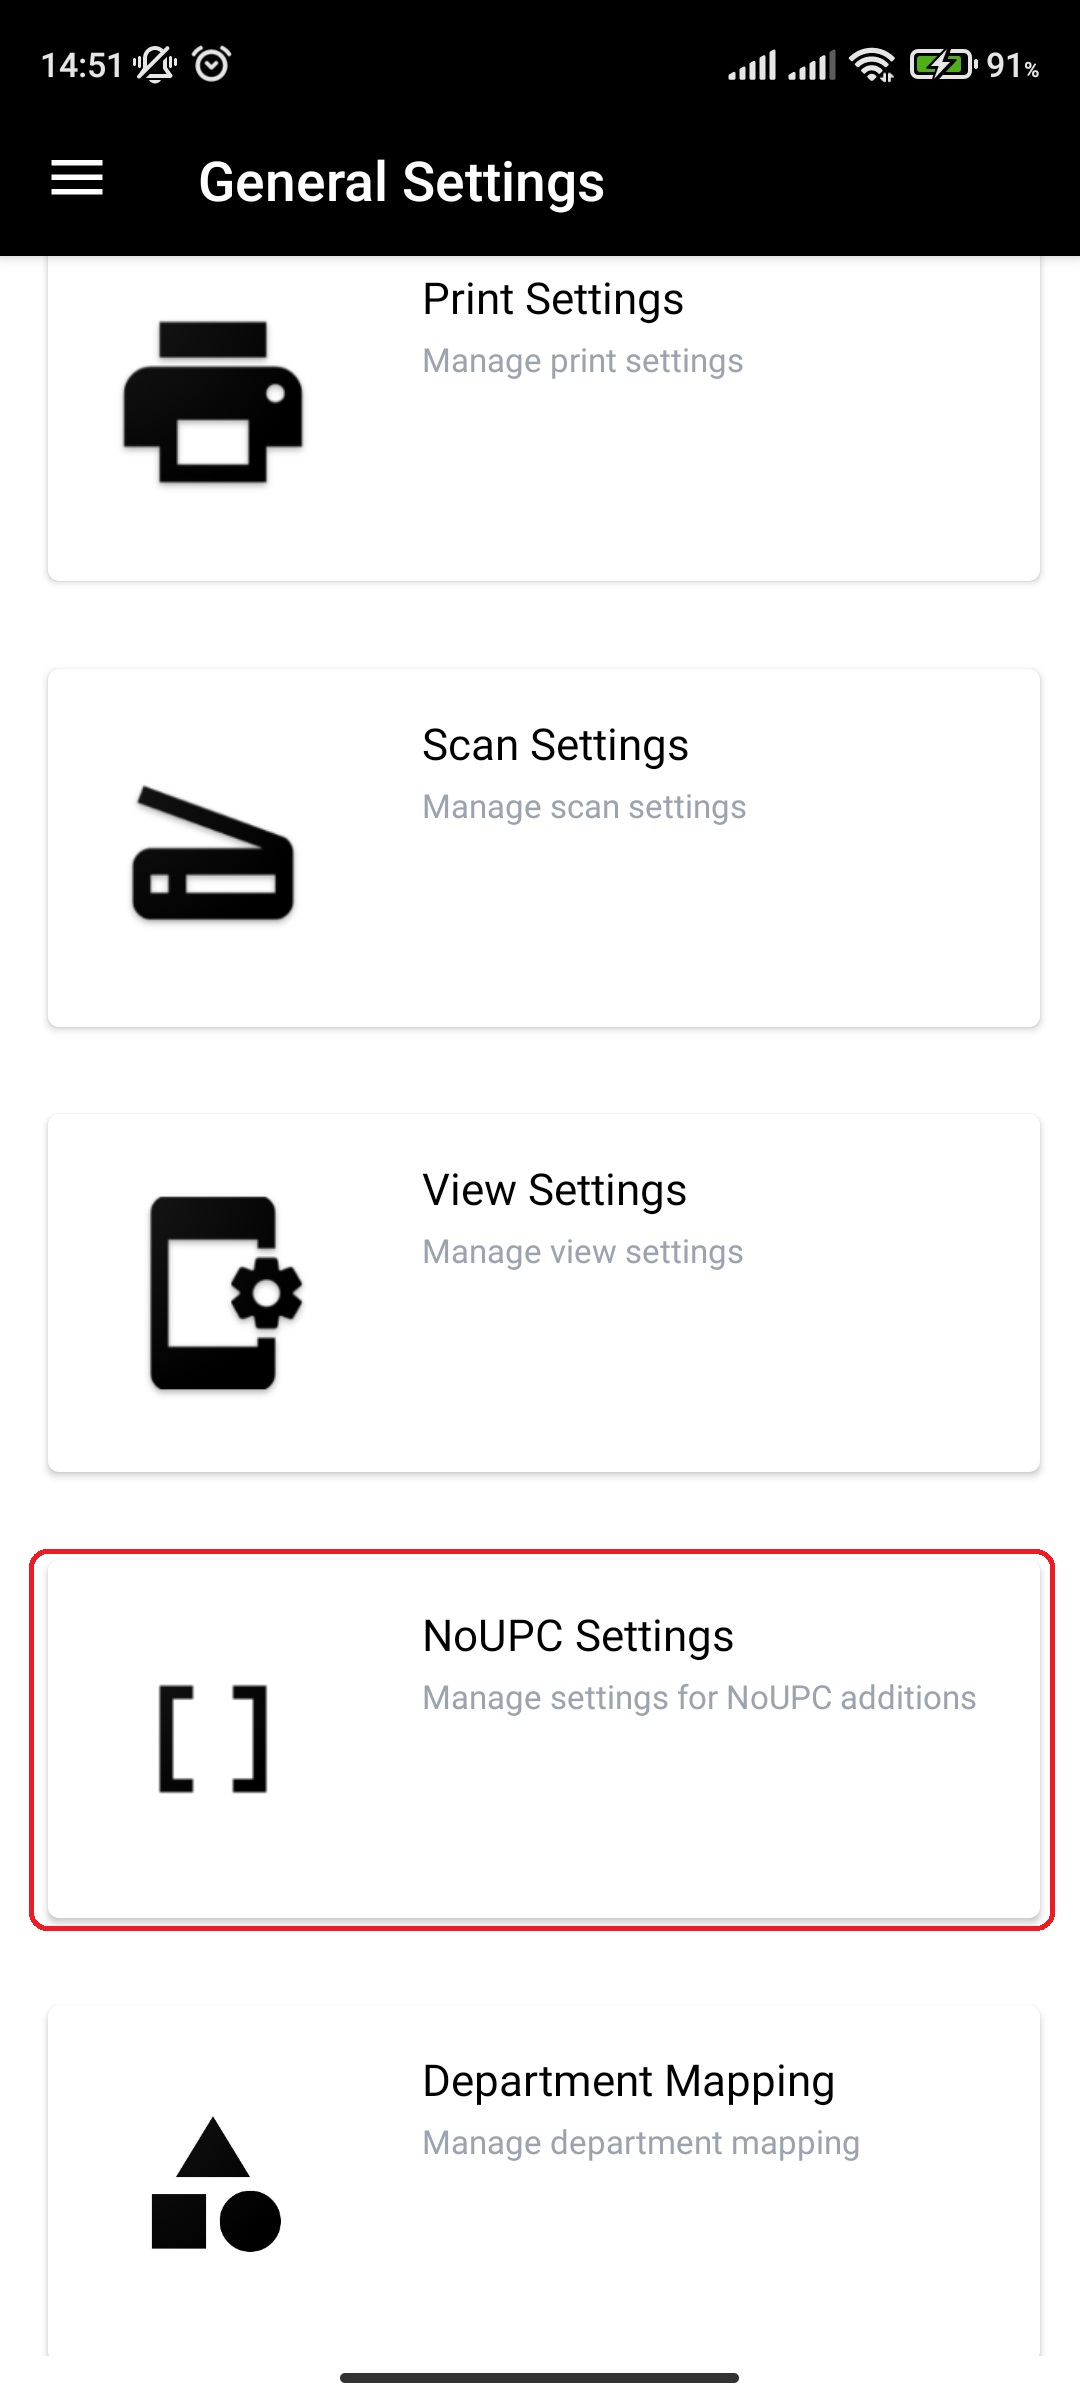
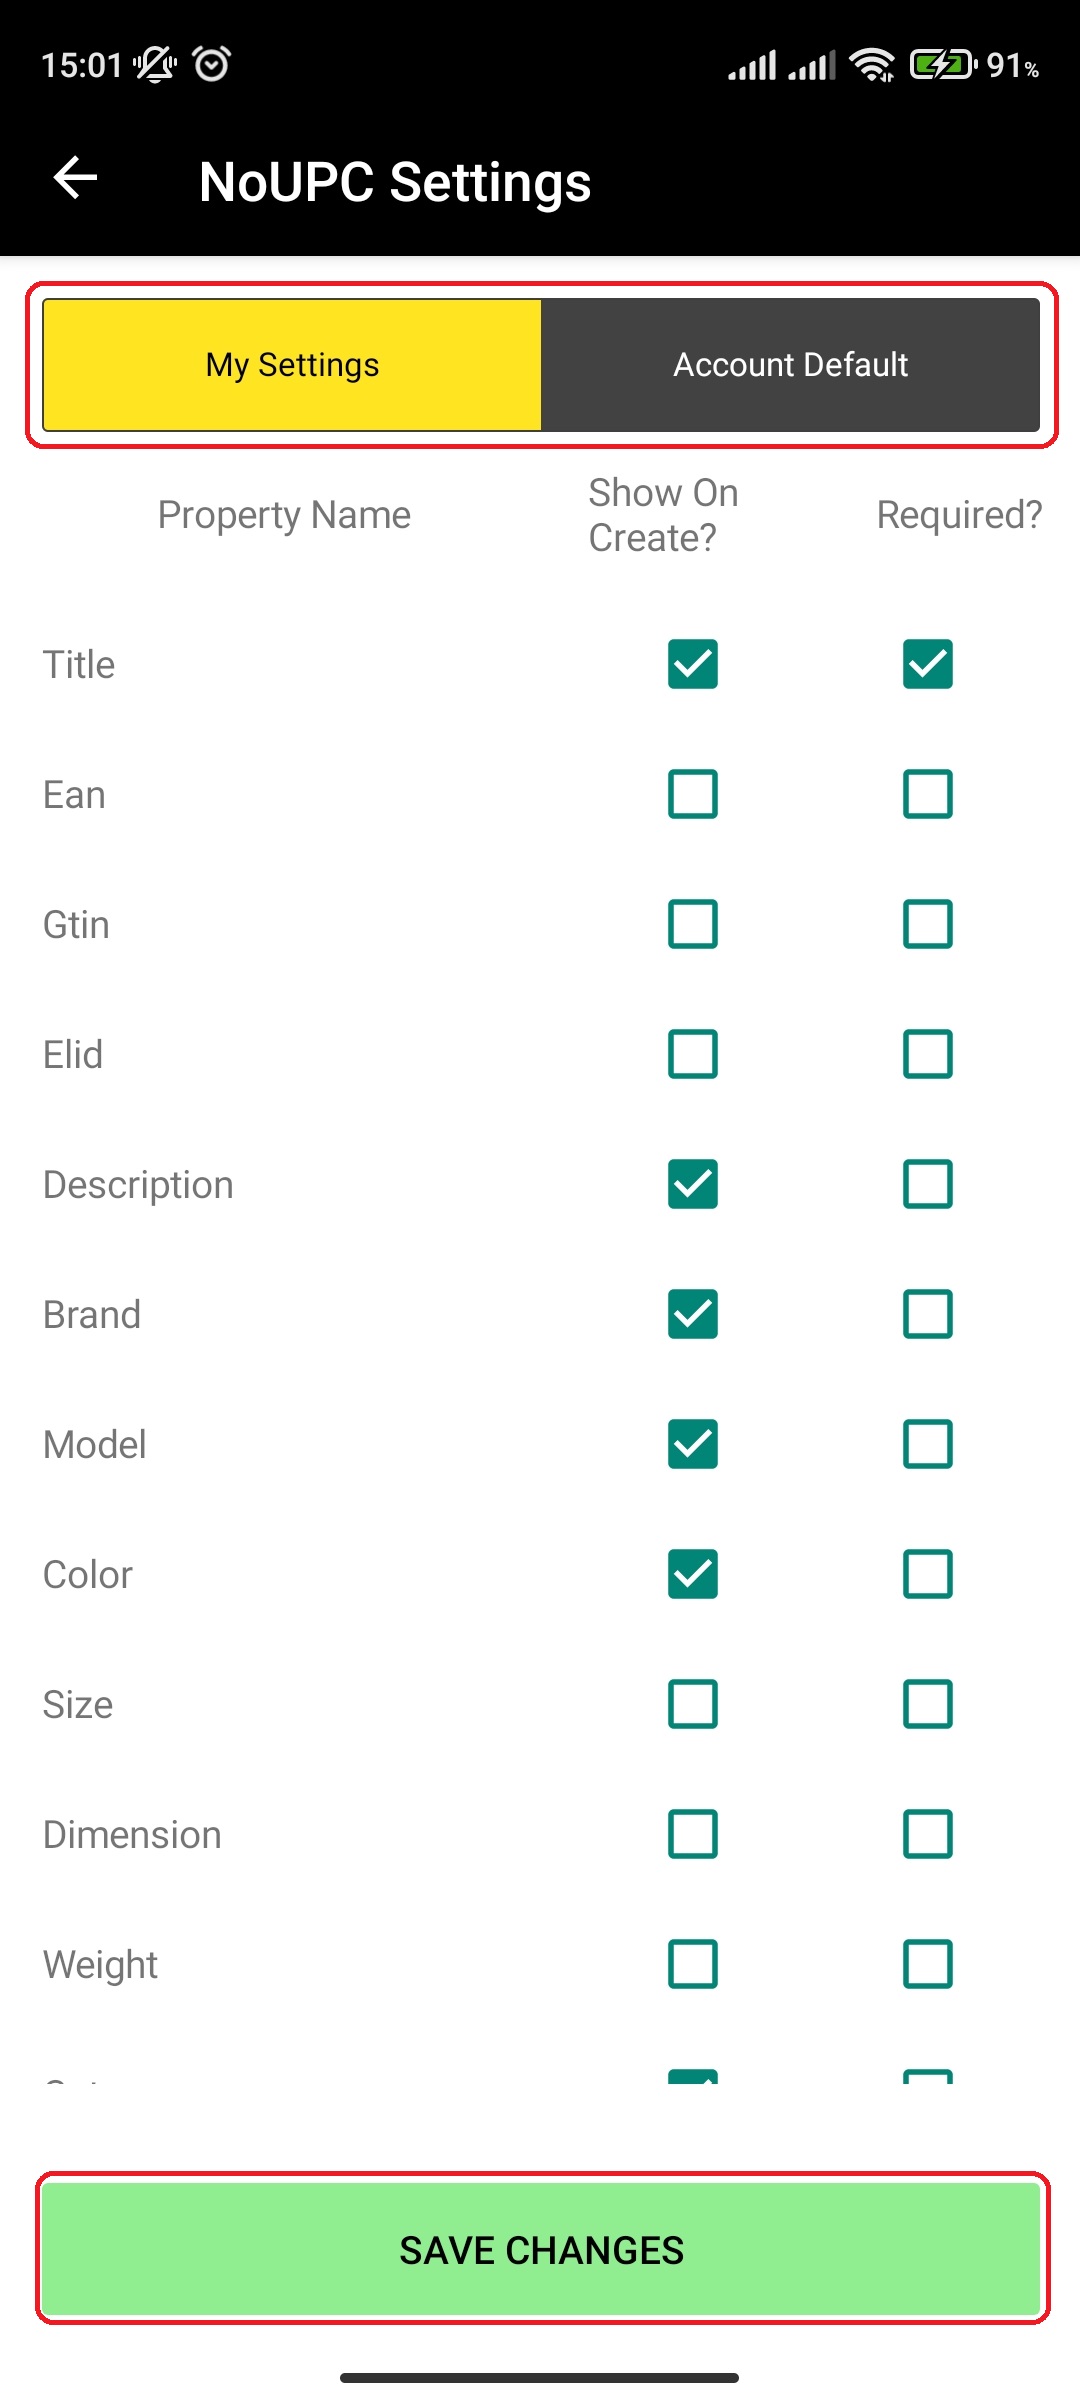
¶ View/Edit NoUPC settings
NoUPC settings are used to show and hide specific fields when adding NoUPC items. Currently this functionality isn't being supported in mobile application. Web application dynamically shows the fields based on settings set in NoUPC Settings.
You can view and edit NoUPC settings by doing the following:
- In main menu, select the General Settings menu option

- Select NoUPC Settings option
- View and/or edit your NoUPC settings by toggling and untoggling properties
- On edit, press Save Changes to save modified settings.
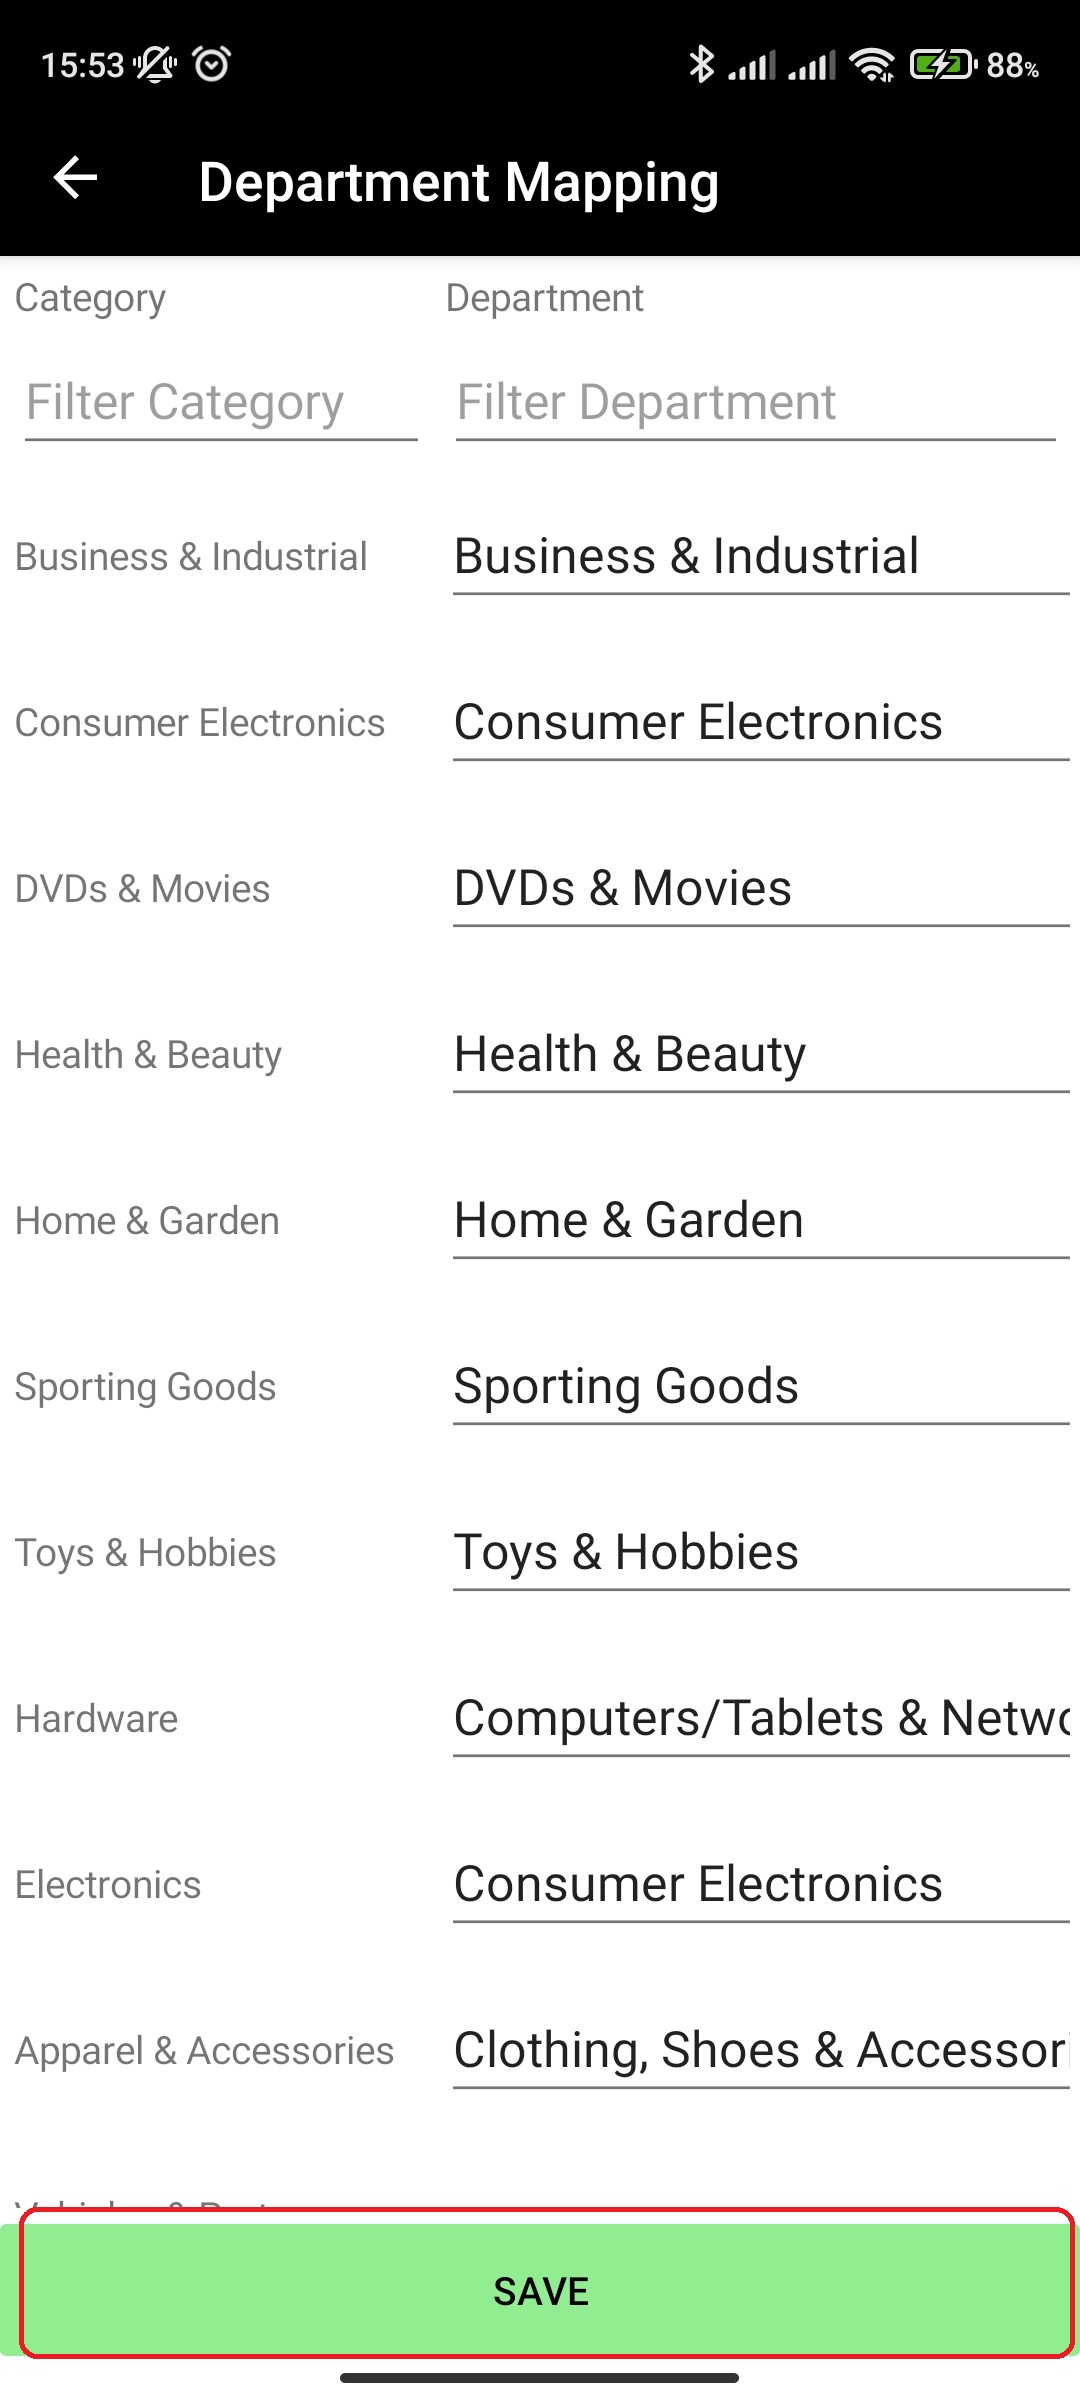
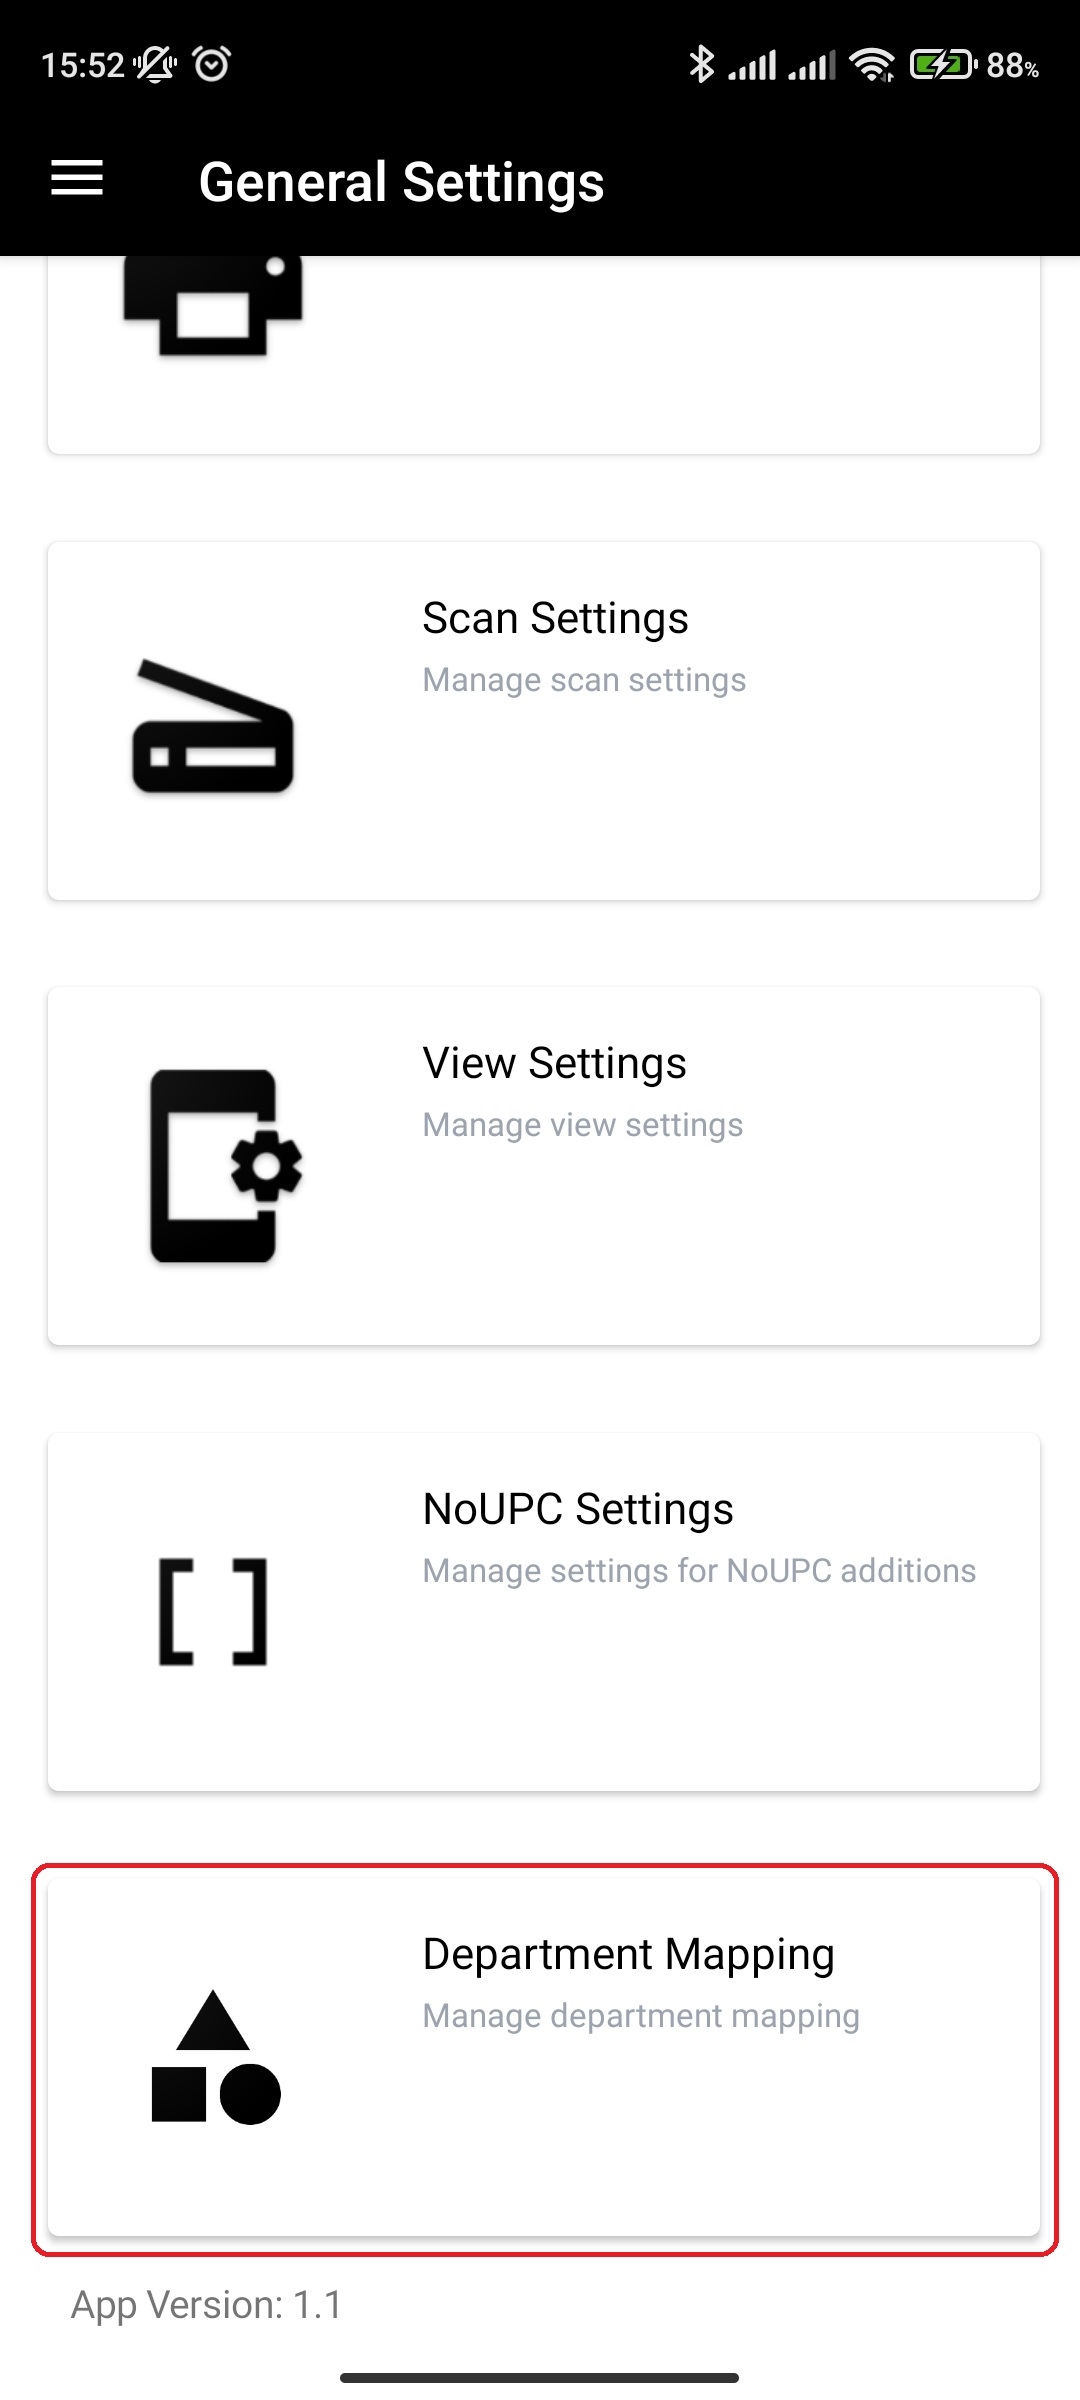
¶ Department Mapping
Department mapping is used to assign departments to categories.
You can view and edit Department mapping by doing the following:
- In main menu, select the General Settings menu option

- Select Department Mapping option
- View and/or edit your Department/Category mapping by assigning different departments to categories
- On edit, press Save Changes to save modified settings.